Implementation
-
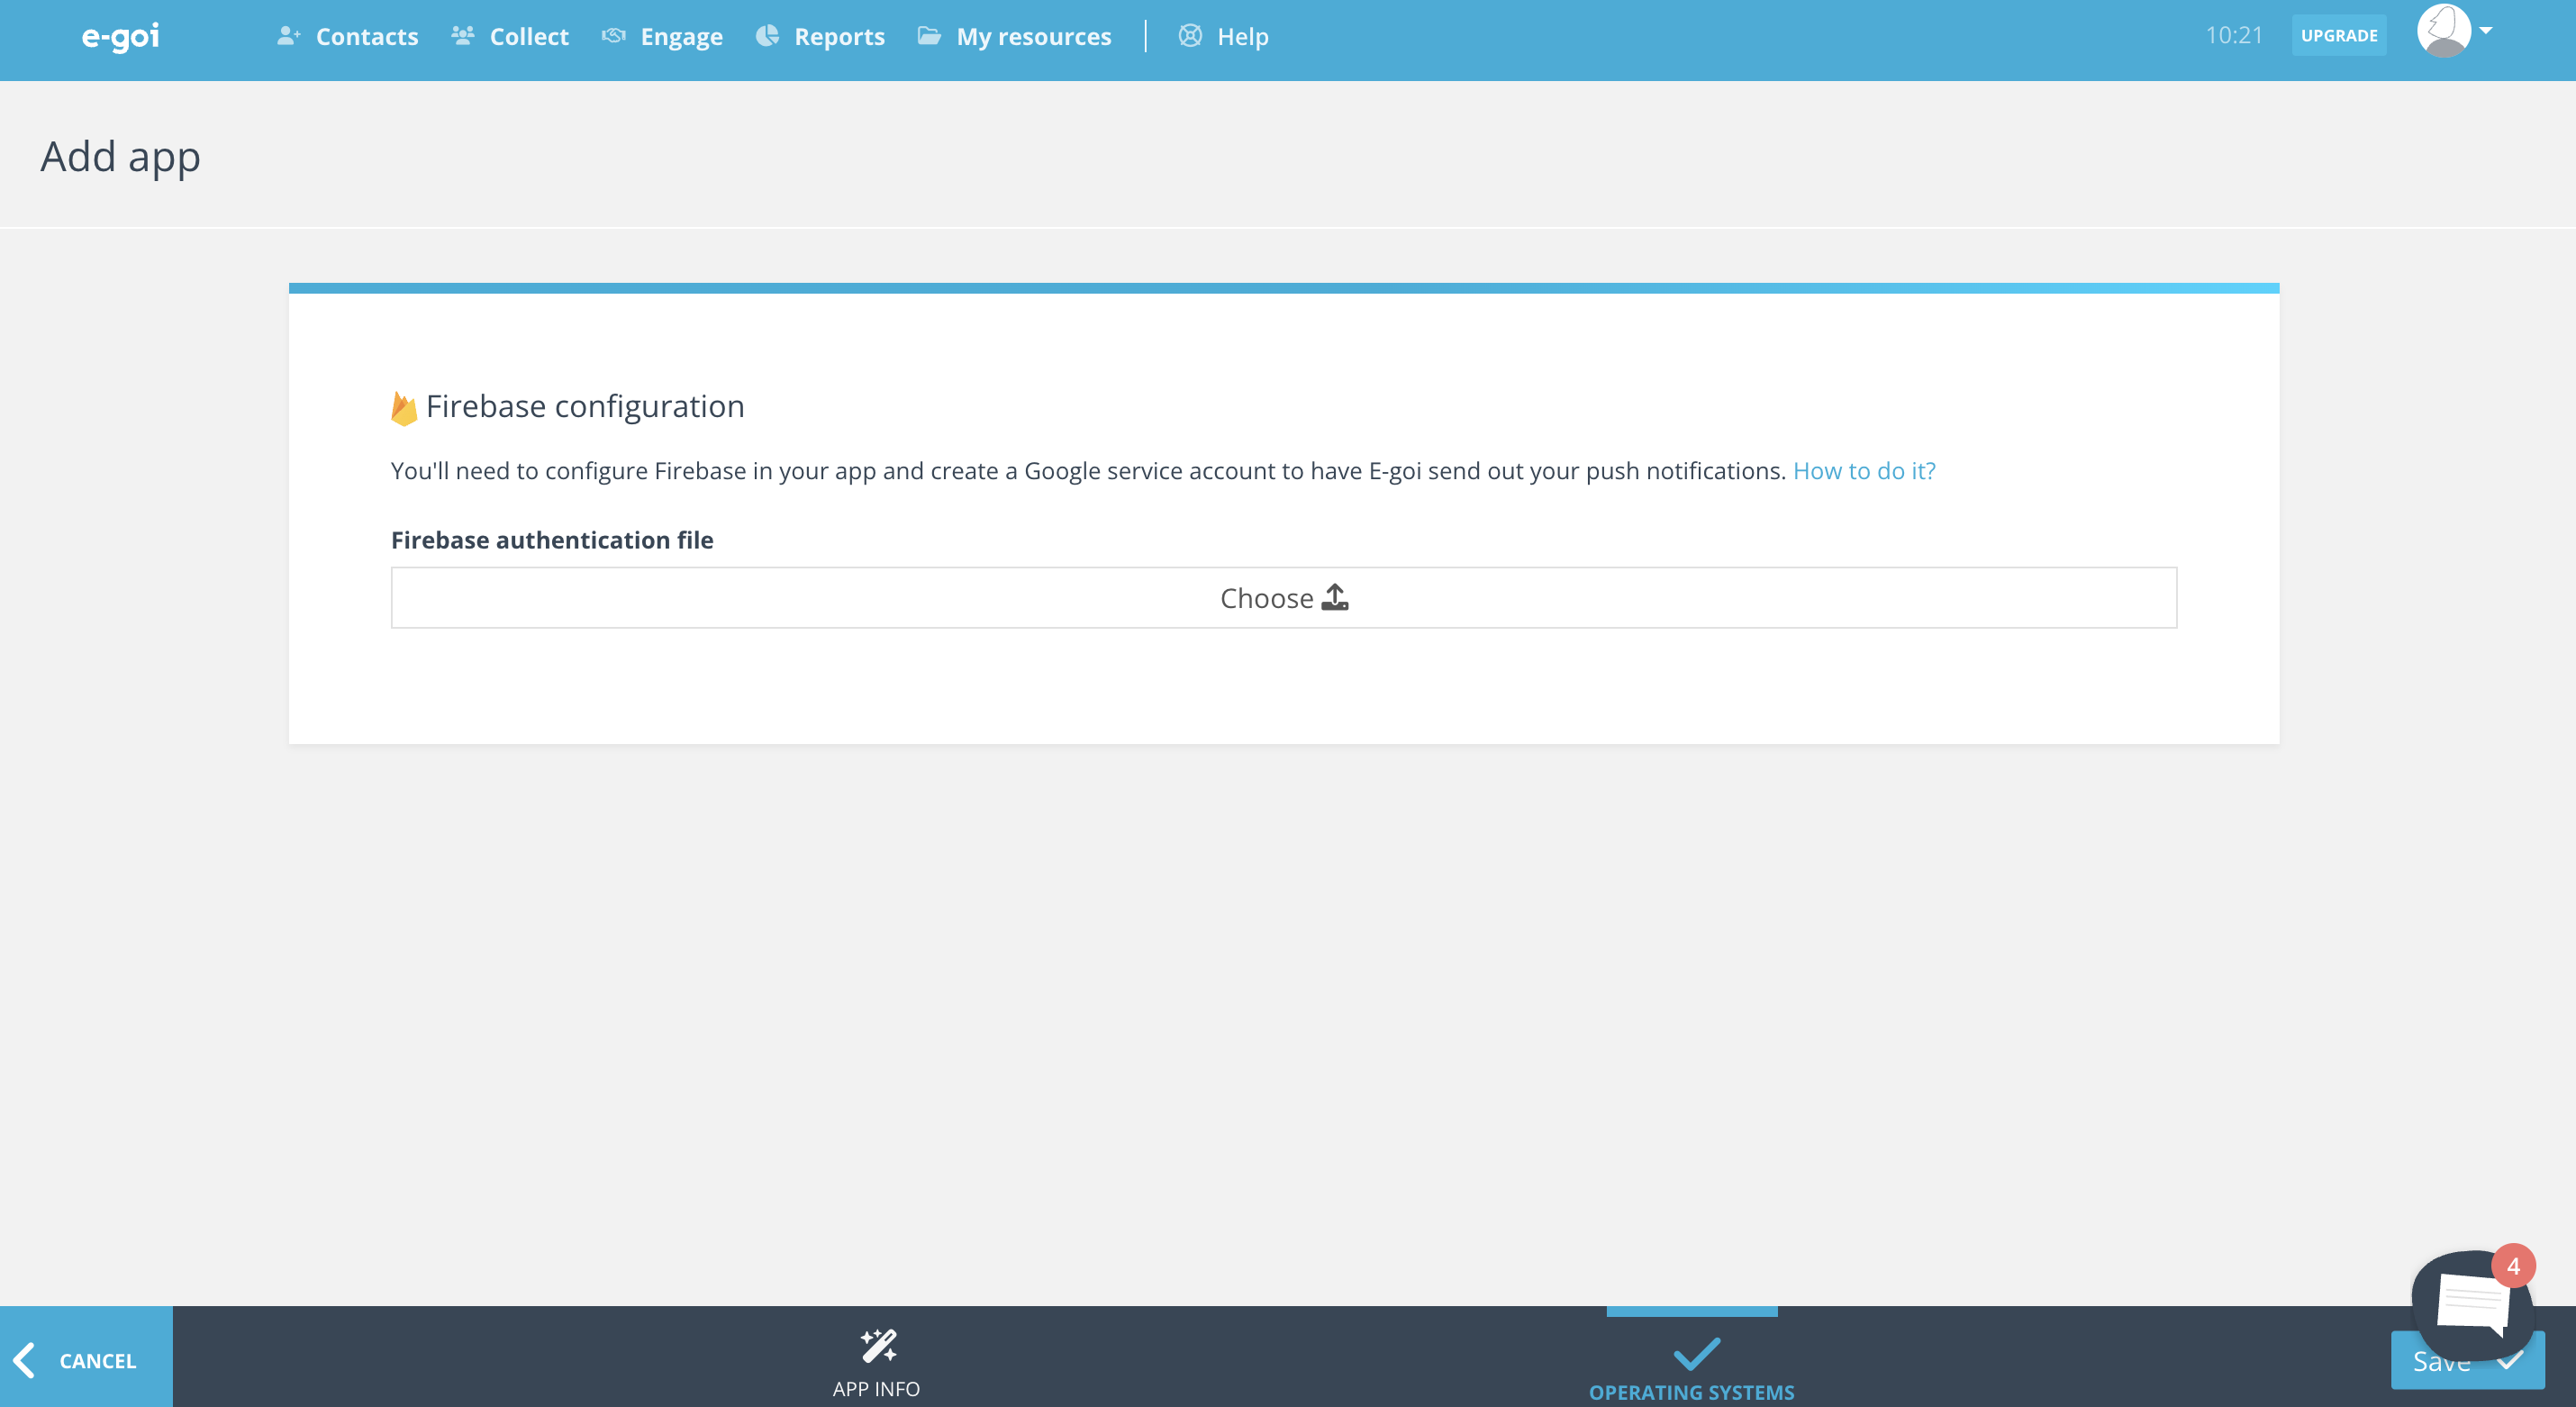
You’ll need to add and configure the push app in E-goi.
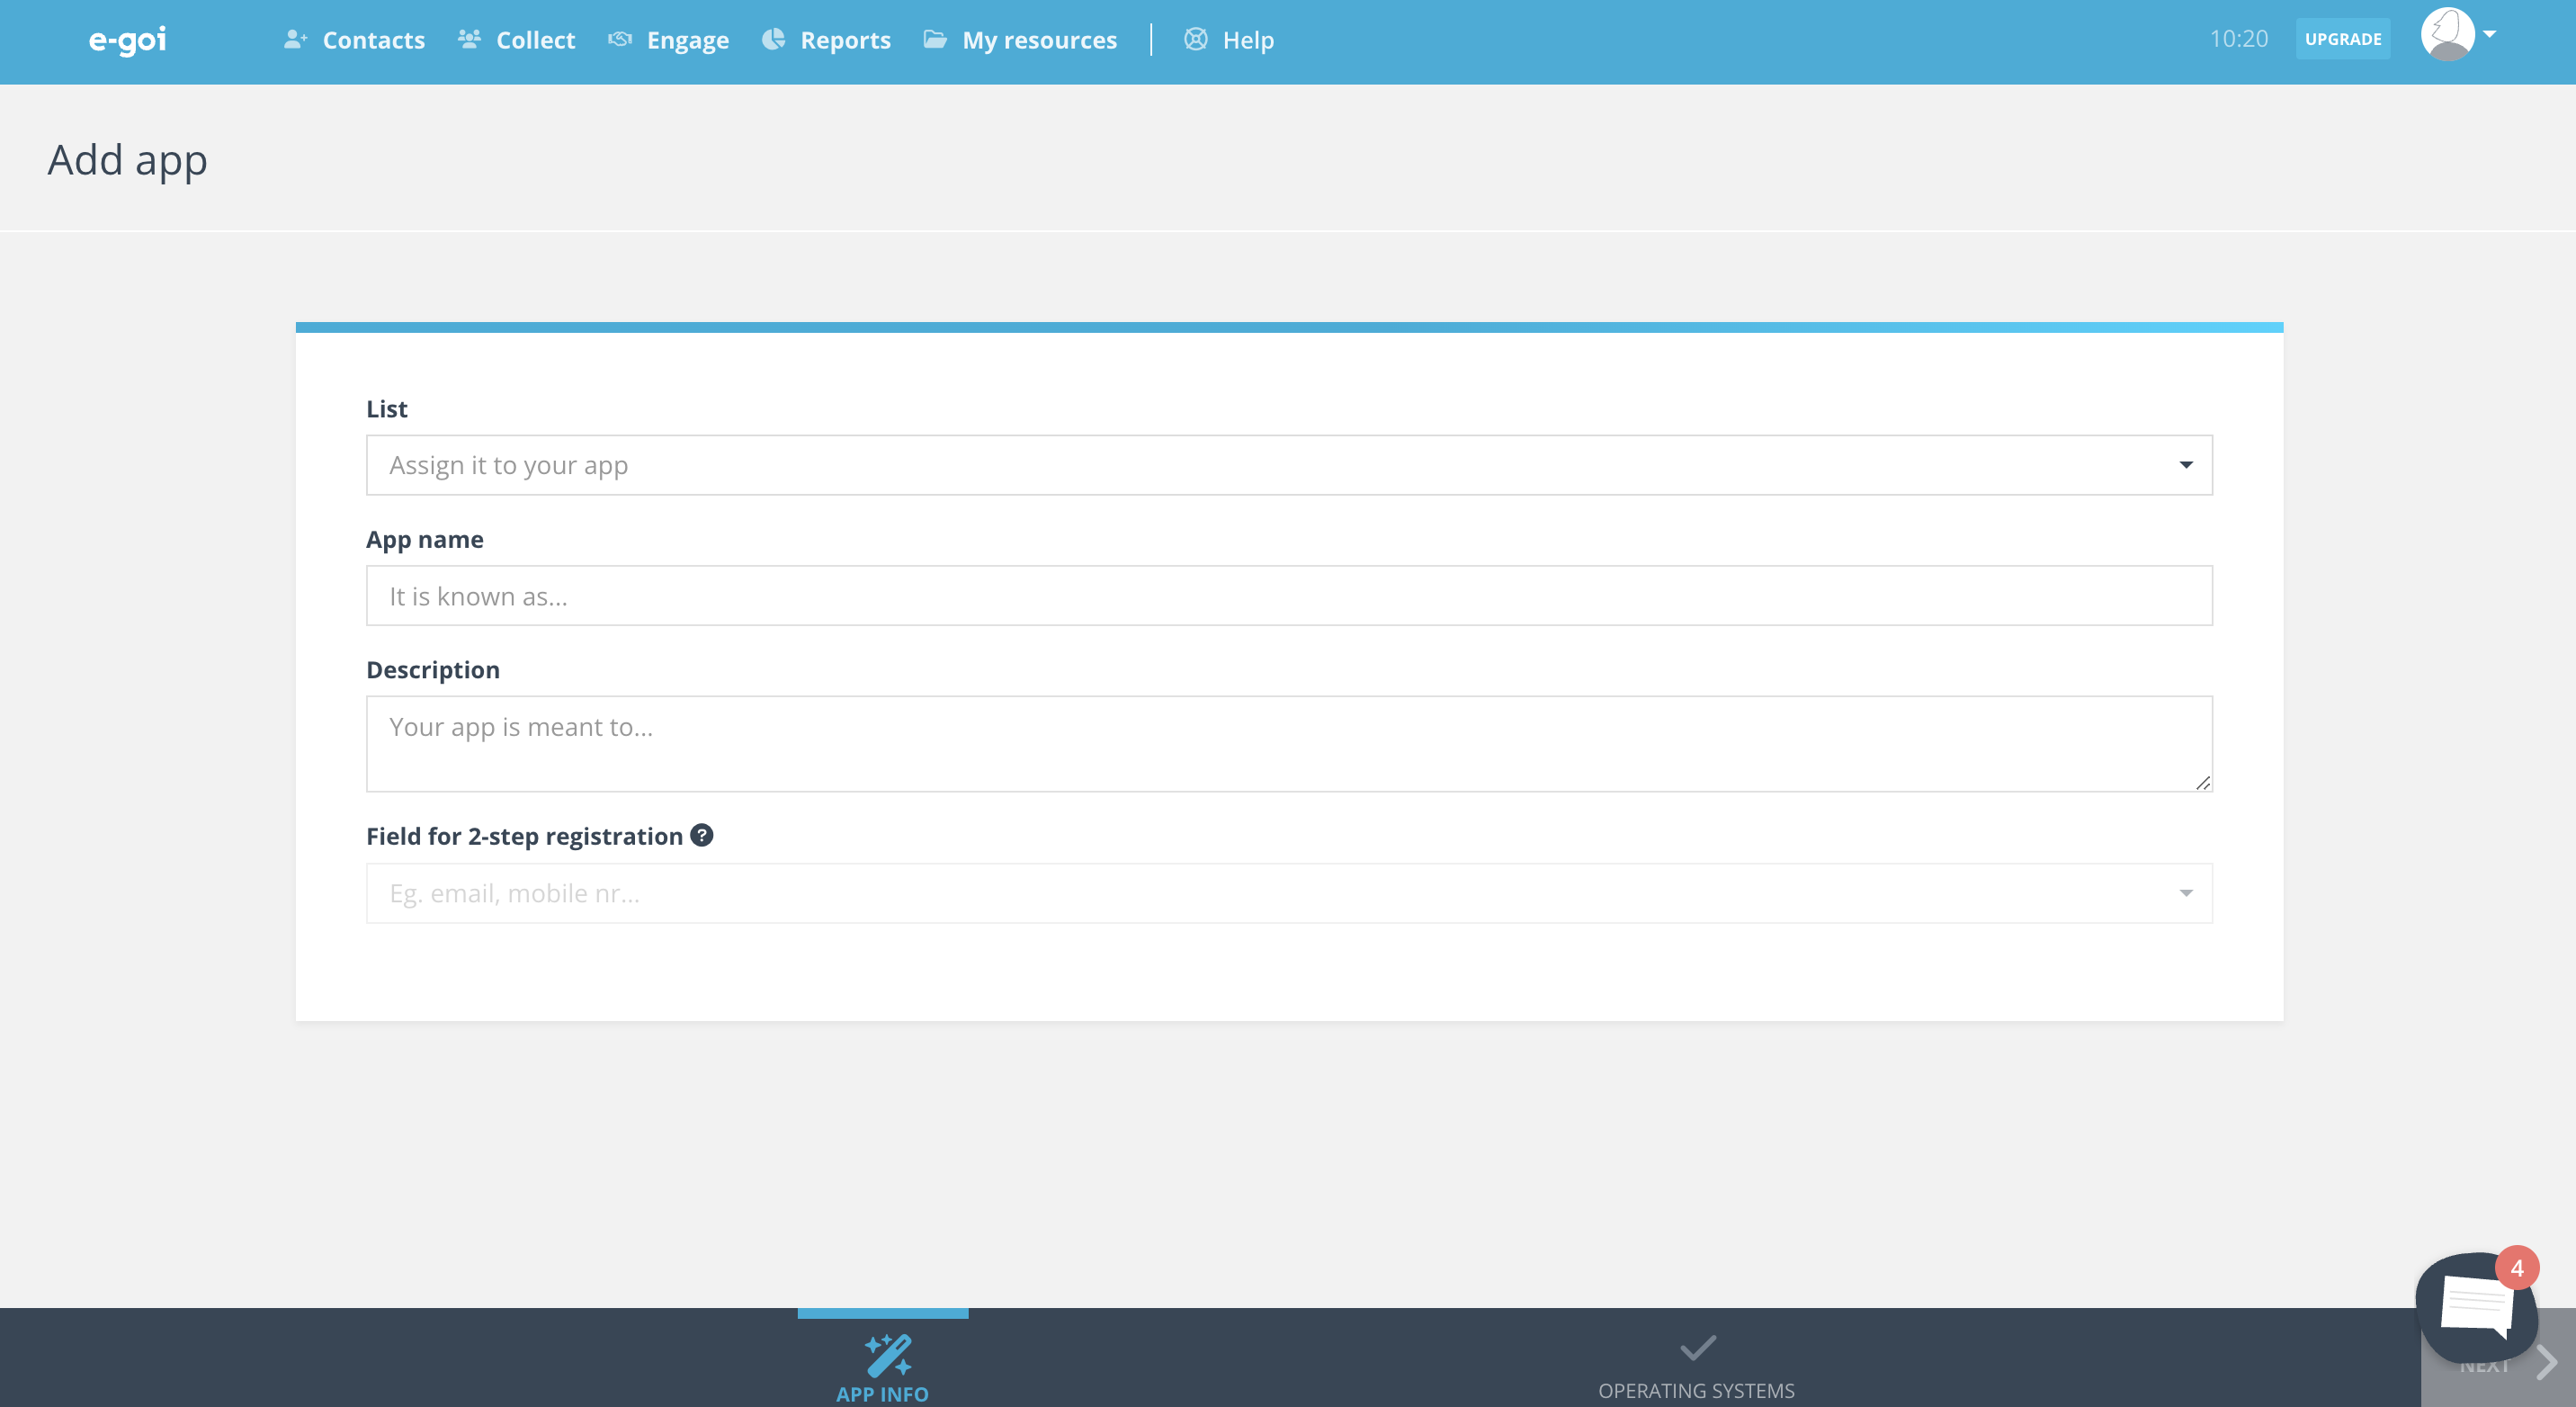
-
To do so, upload a file made available by Firebase, in JSON format. You can get this file by following the steps available at: https://developers.e-goi.com/push/#google-service-account
-
Points to consider: Once you’ve installed the libraries in the app, they will automatically integrate with Firebase, which will issue a token similar to the one shown below (the token will be connected to the app in your E-goi account, attaching it to a contact). Example of Firebase Token:
dy-v5fAOTGaze2Q1nGwz6F:APA91bF8unmeMz6NdF00VANrf8CX9qxwjwnyh1w3e_6n12c1p6xh_xscyoscikf8zpy8r7lhyslh3tg7llt1h9vupz3yivfh_gau8y0agj9uvxibq59abtaqlt49fvx00dyvu_invz9mSDKs (Software Development Kit)
-
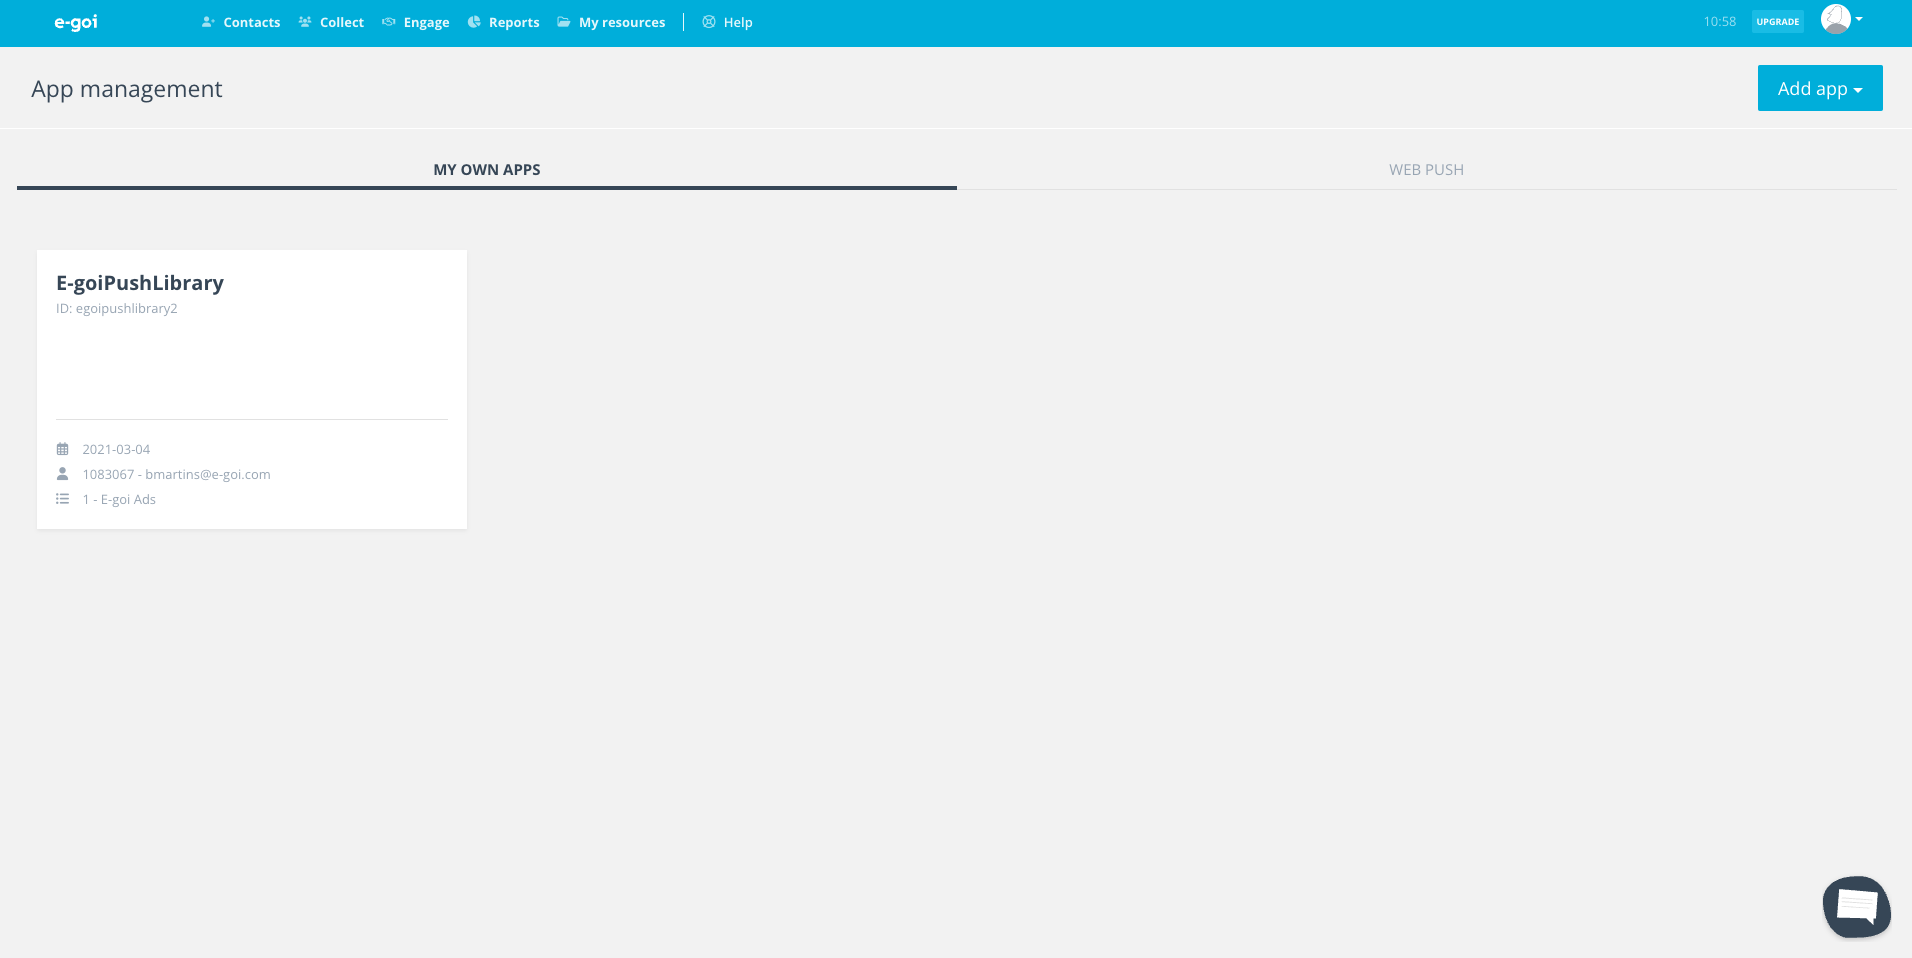
Once you’ve added the app to E-goi and integrated it with the libraries, you will see your app in the “Push" menu (within the “Collect” menu) and will be all set to create your campaigns.
Note: A hybrid app is based on frameworks with different features that are not supported by our libraries. To use them, you’ll have to integrate them manually as we don’t provide automated integration (See supporting document).
Communications
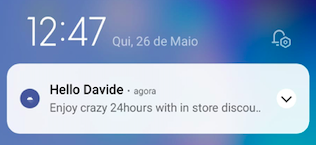
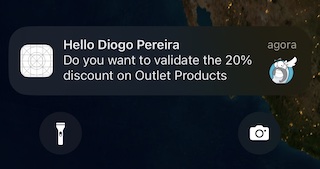
Send personalised communications about temporary special offers on Outlet products to each contact on your list. Customise the copy (title + message) and buttons.
Guide using the E-goi interface
-
Log in to the E-goi platform (login and password).
-
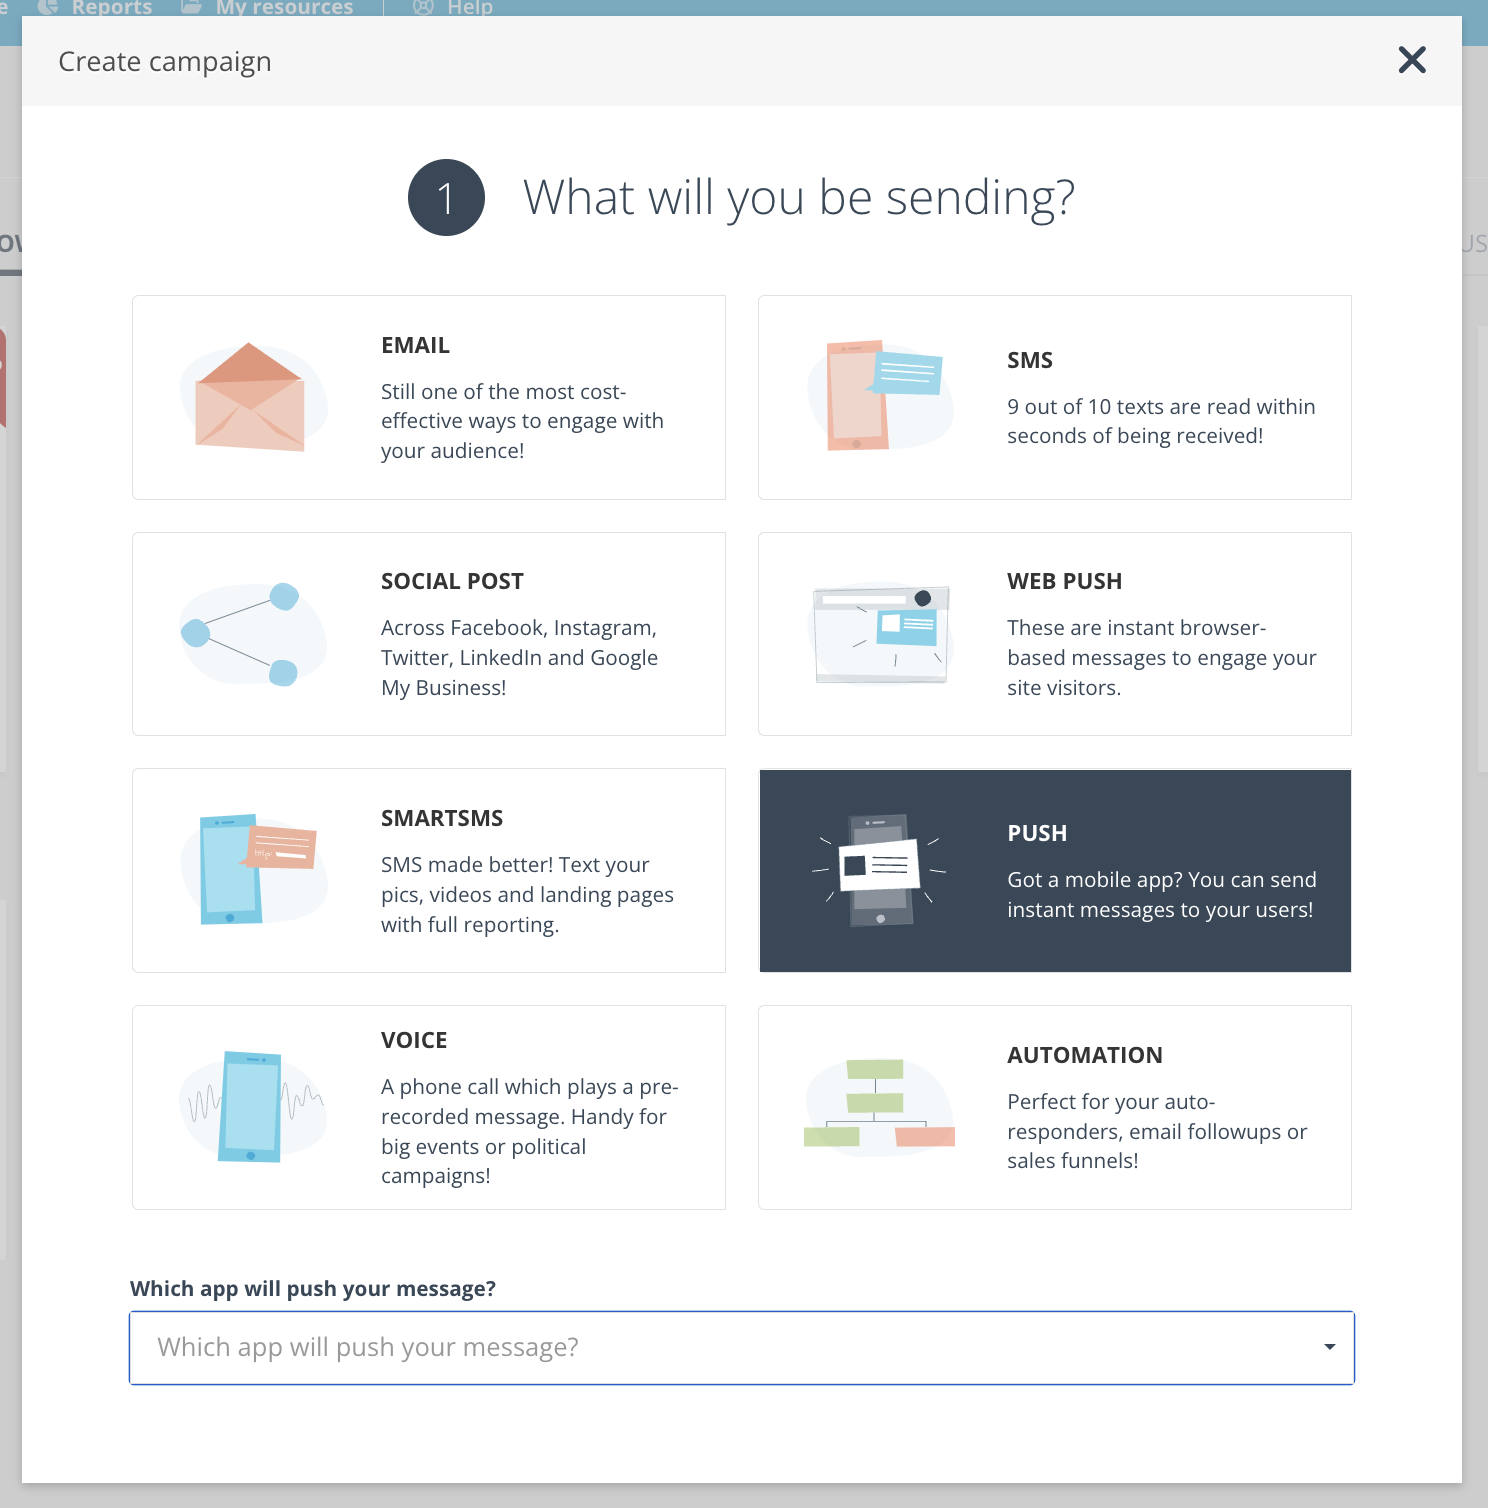
In the “Engage" menu, select the “Push” option and click on “Create”.
-
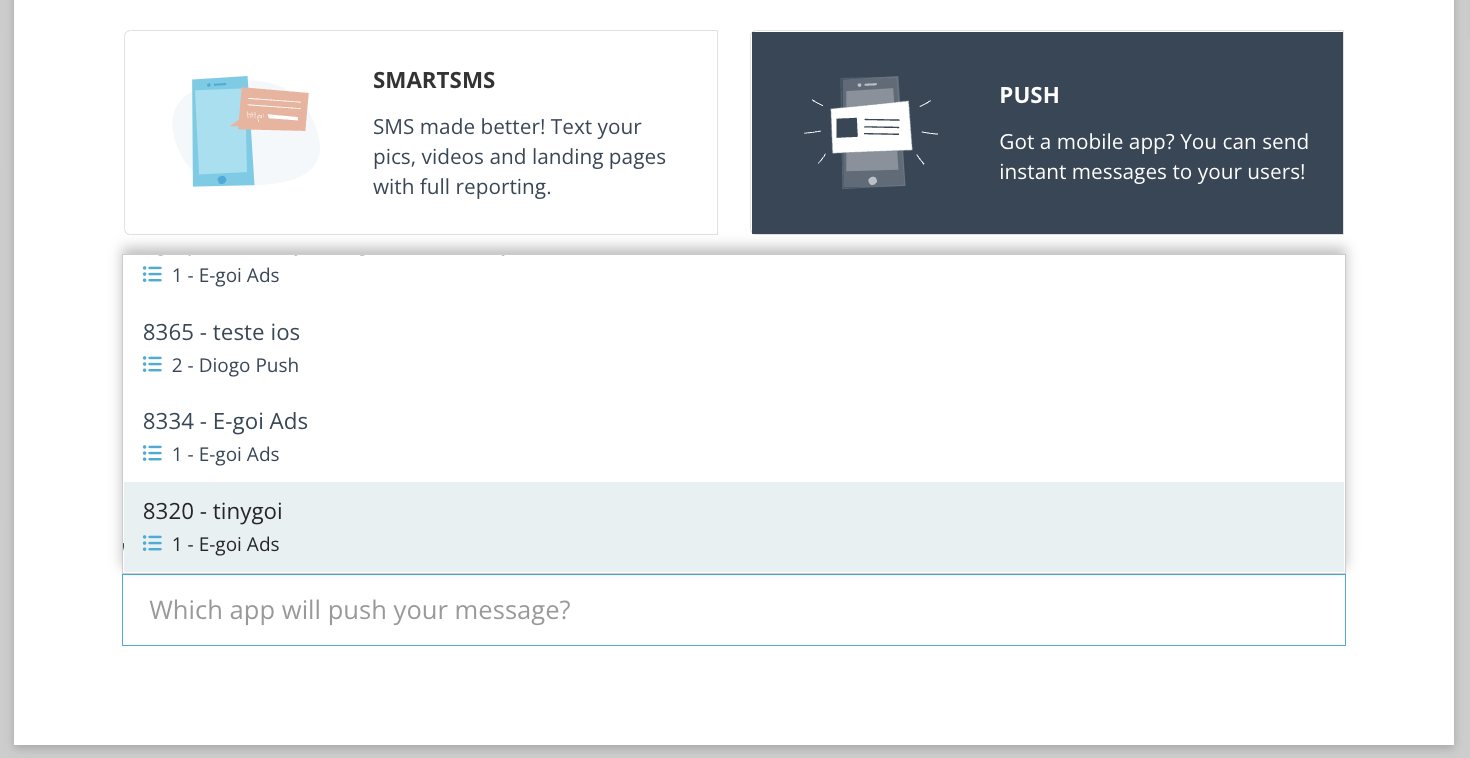
Choose the app you initially configured in implementation Steps 1 and 2.
-
Next, establish the type of campaign you want to carry out (broadcast or recurring) and click on “Next”.

-
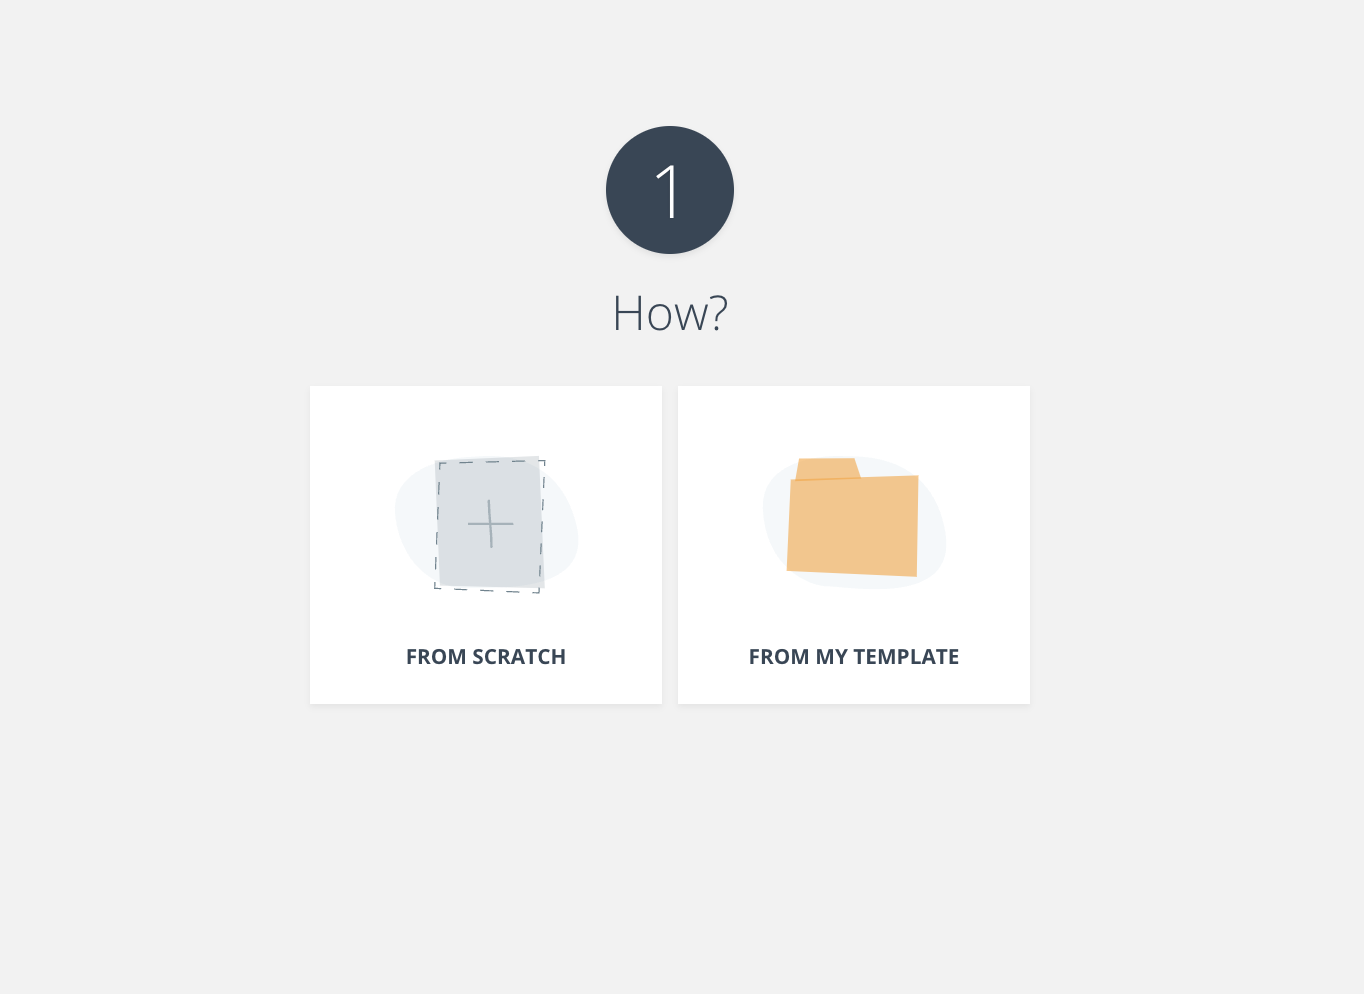
Now you can start creating your campaign - either start from scratch or choose a template created previously. You’ll see the 4 steps you’ll have to follow to send the push campaign in the navigation bar at the bottom of your screen.
-
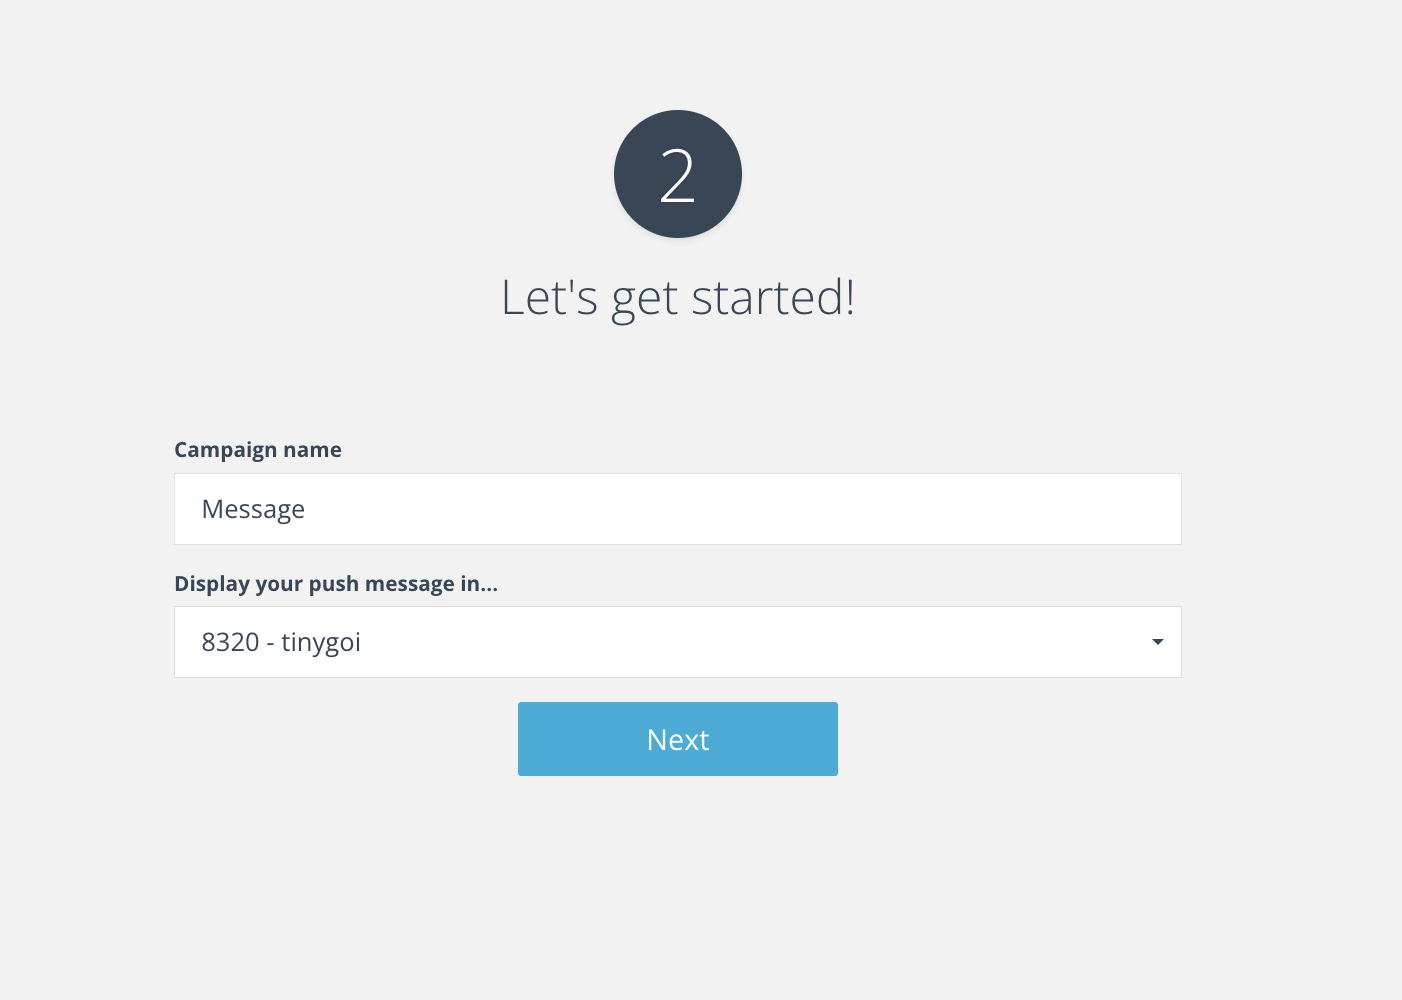
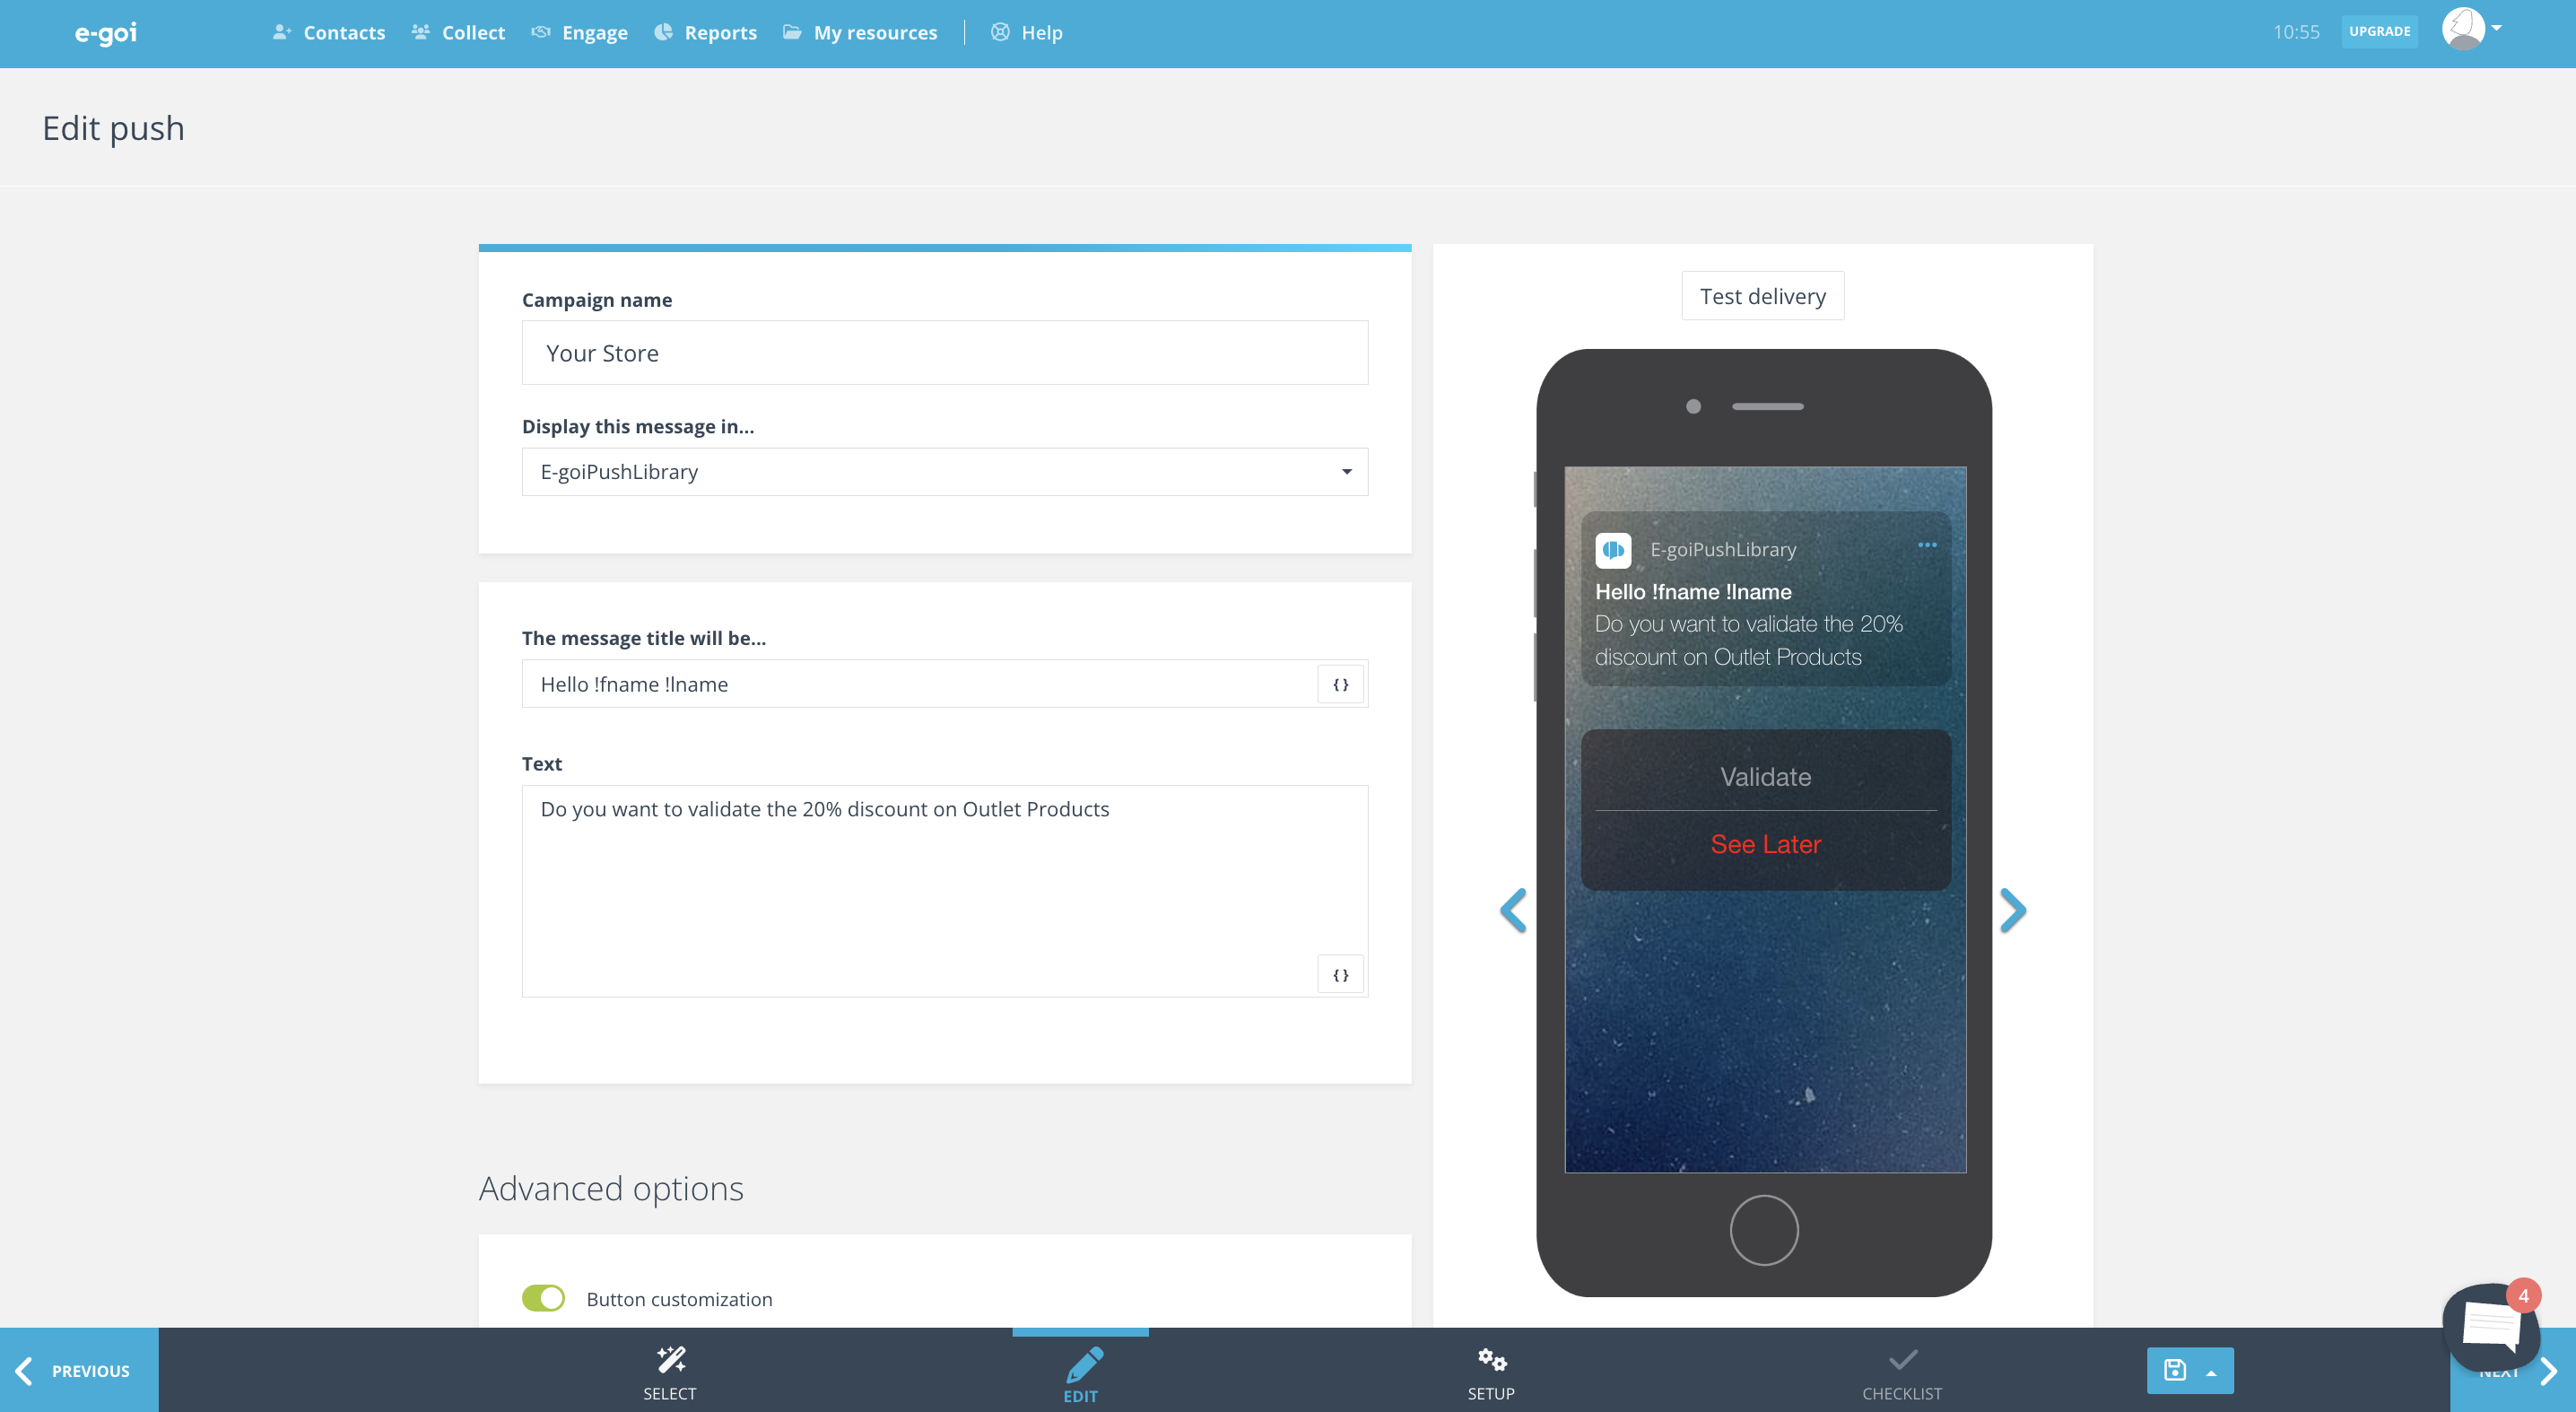
Give your campaign a name and choose the app you’ve set up to display the push message. If you’ve set up more than one app, choose the one you want to display the message.
Personalised Communications
-
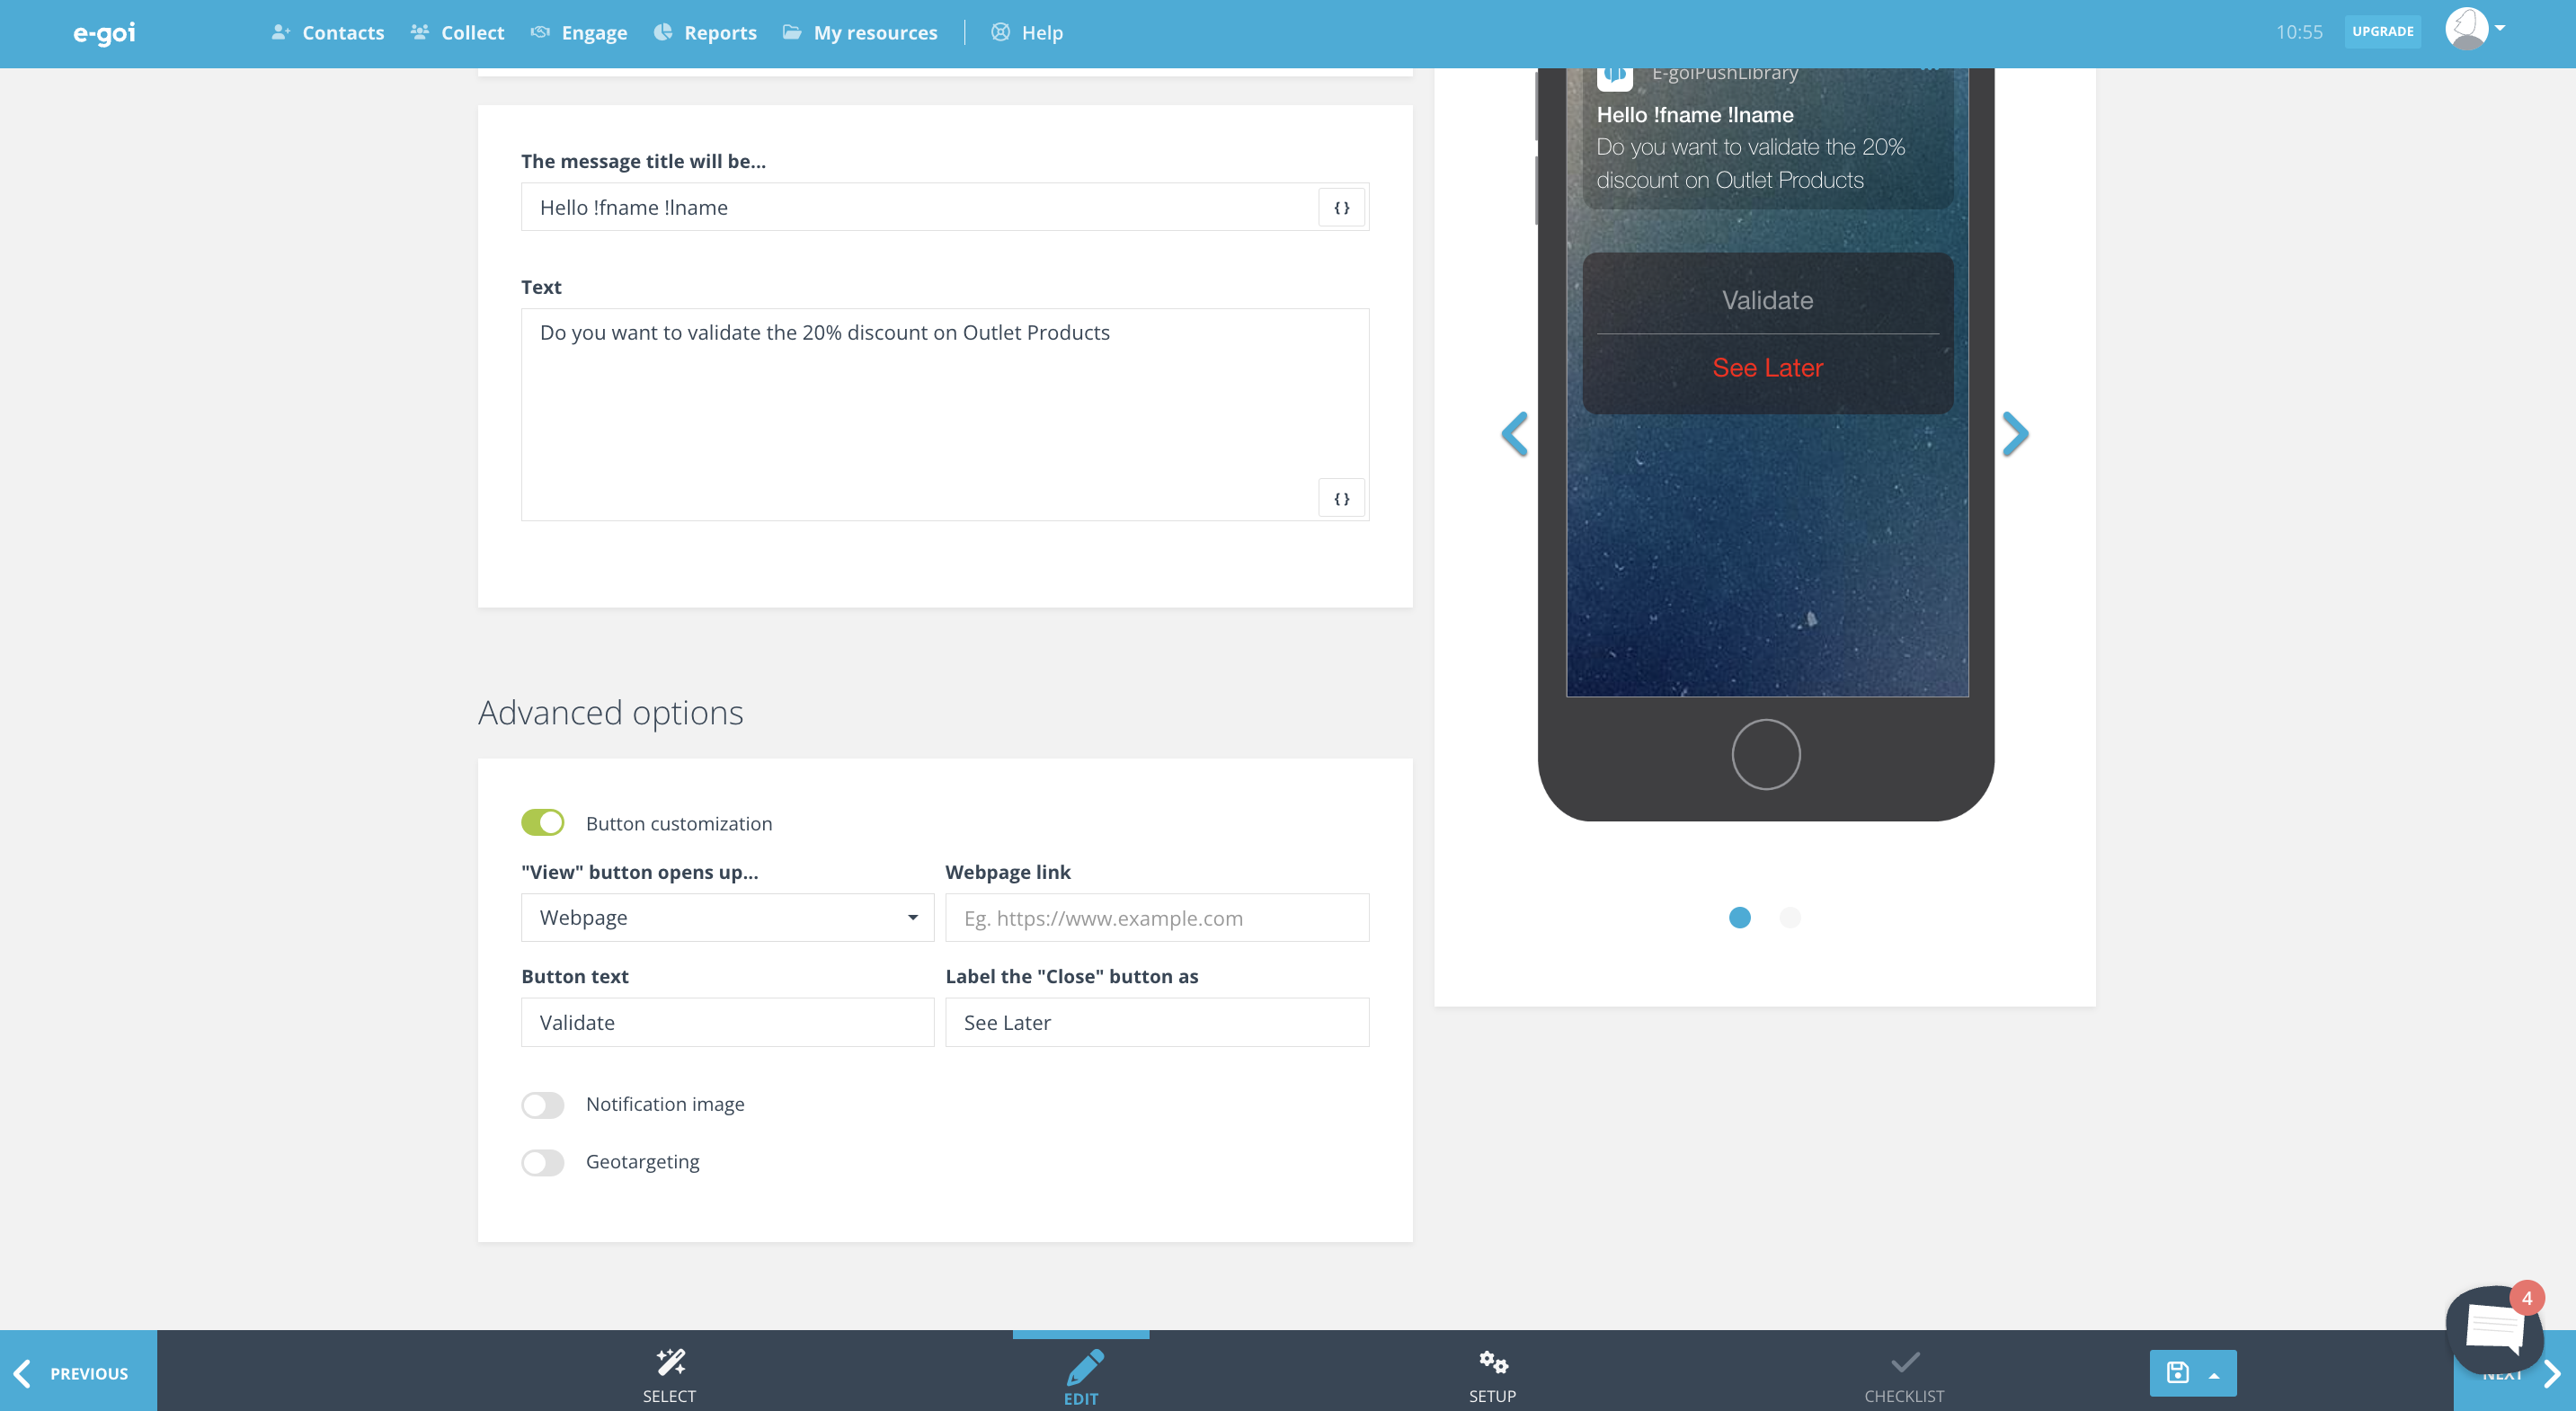
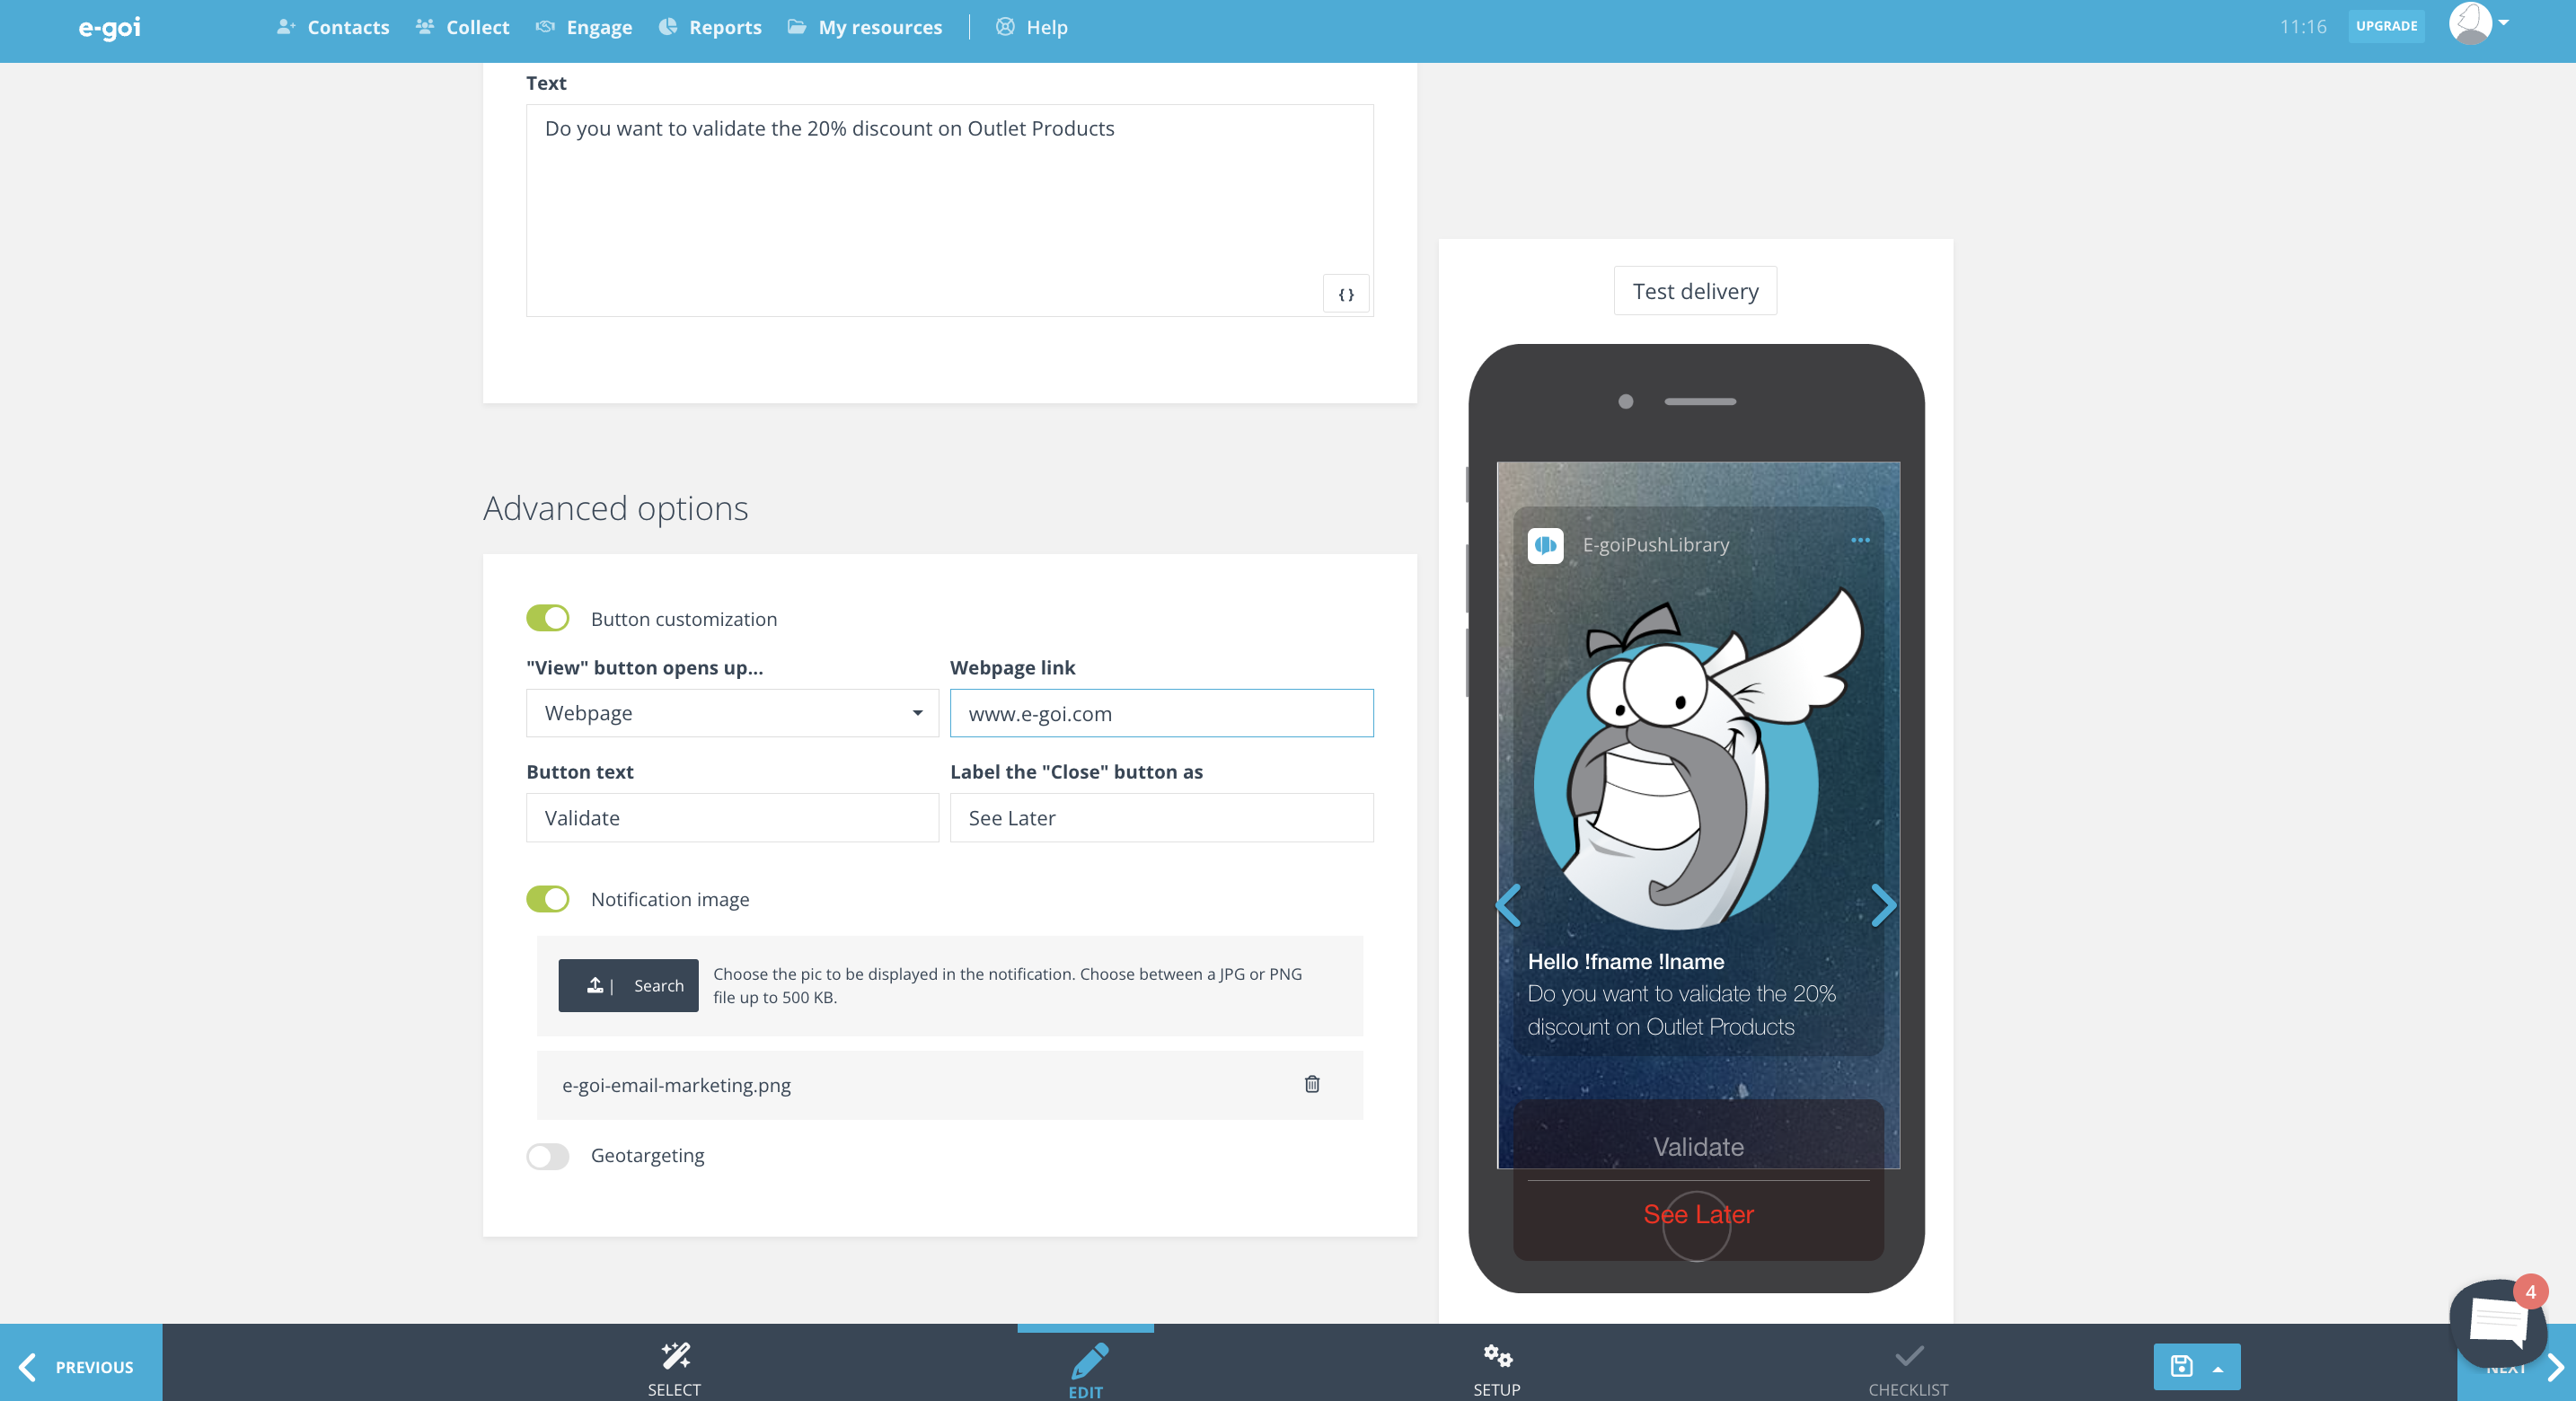
Using the campaign editor, edit the title and text by adding the respective personalisation codes and configure the advanced options (in this case, this will only involve adding copy and a link for each button). You can also test it directly via the editor.
-
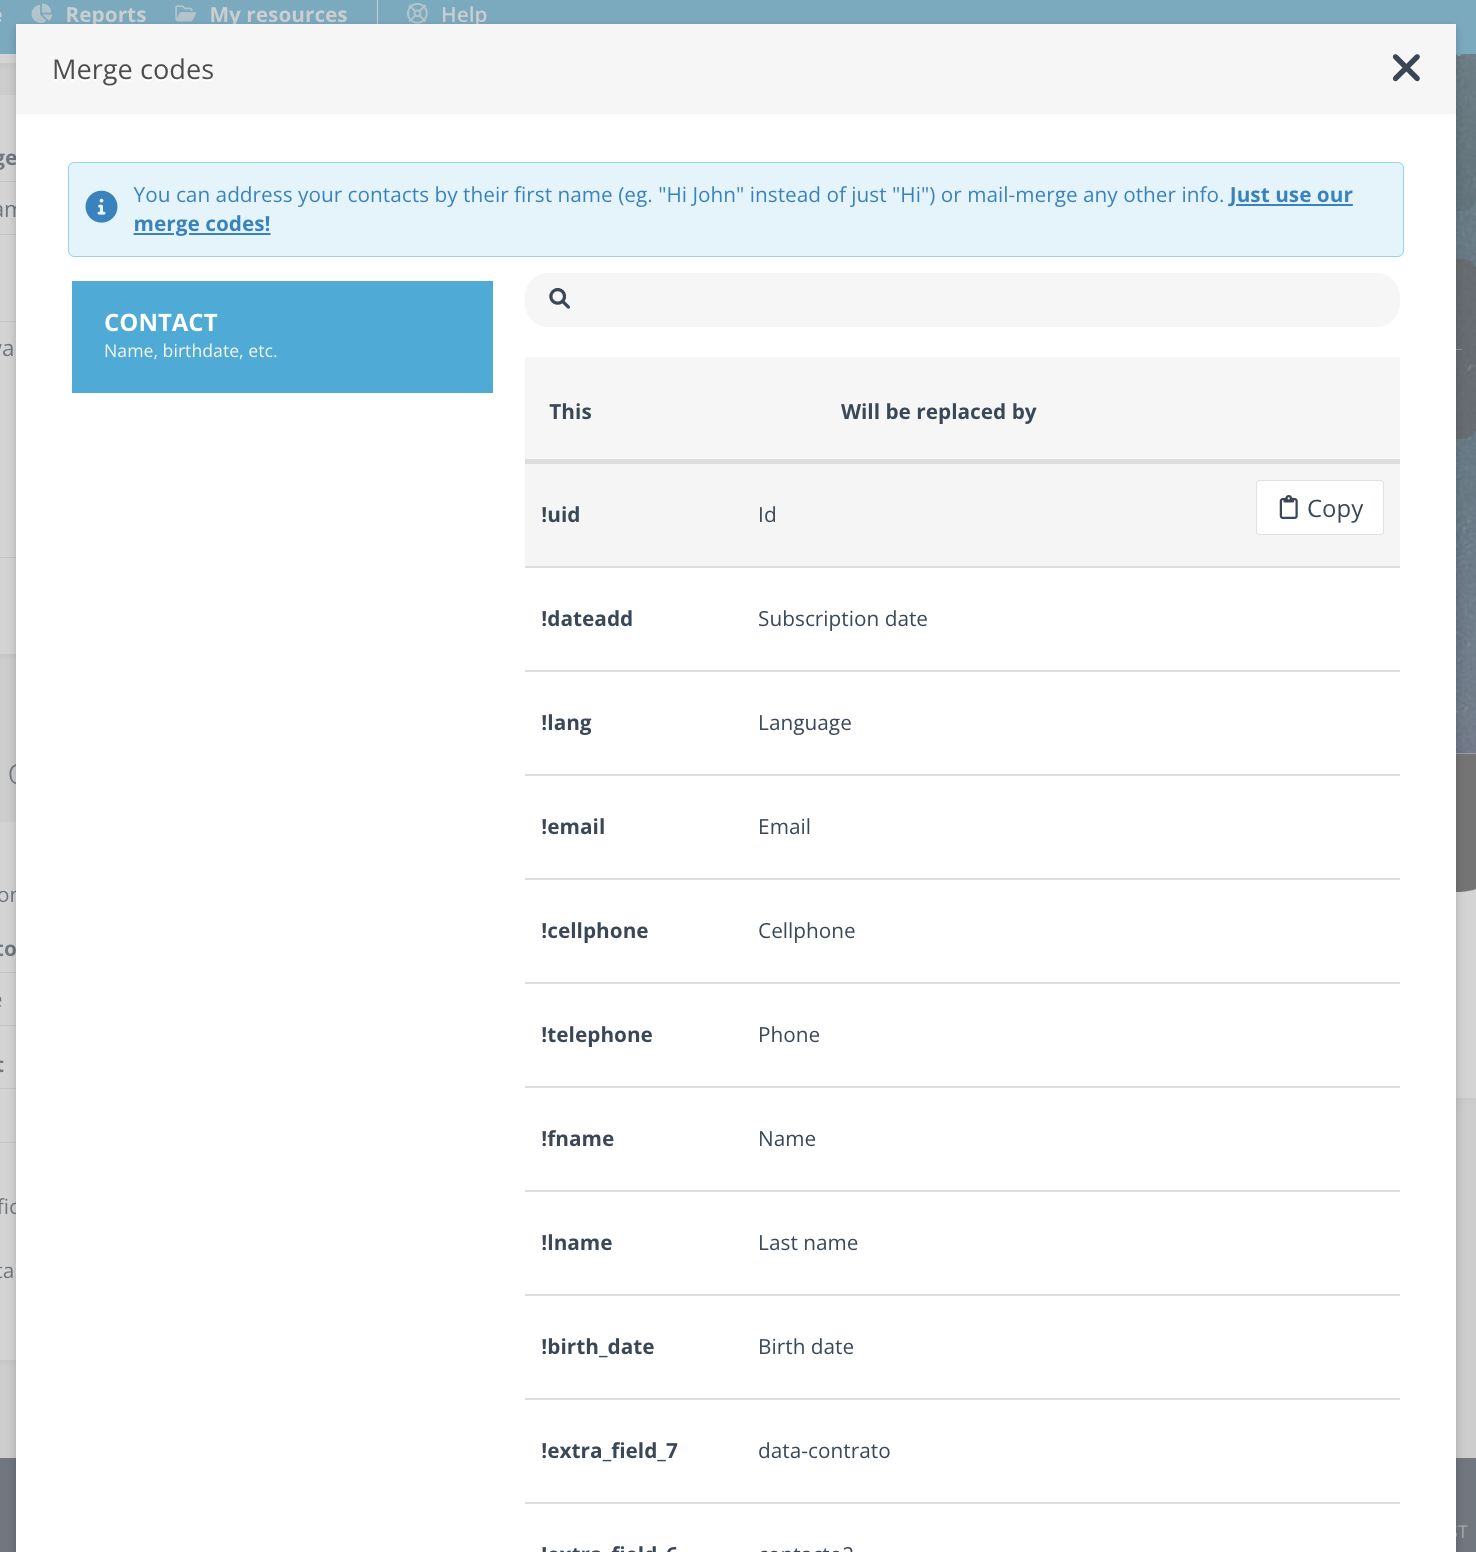
You’ll see this symbol on the right hand side of the title and text editing box “{}”. Click on it to view a set of personalisation codes ready to be used in your campaign.
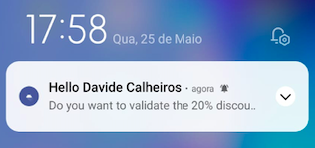
At smartphone
Communications via Geolocation
-
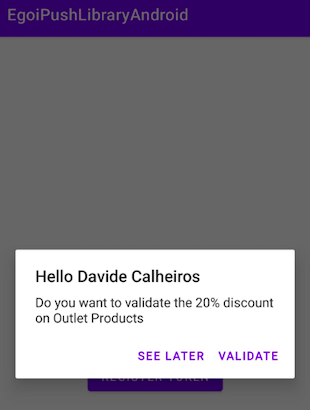
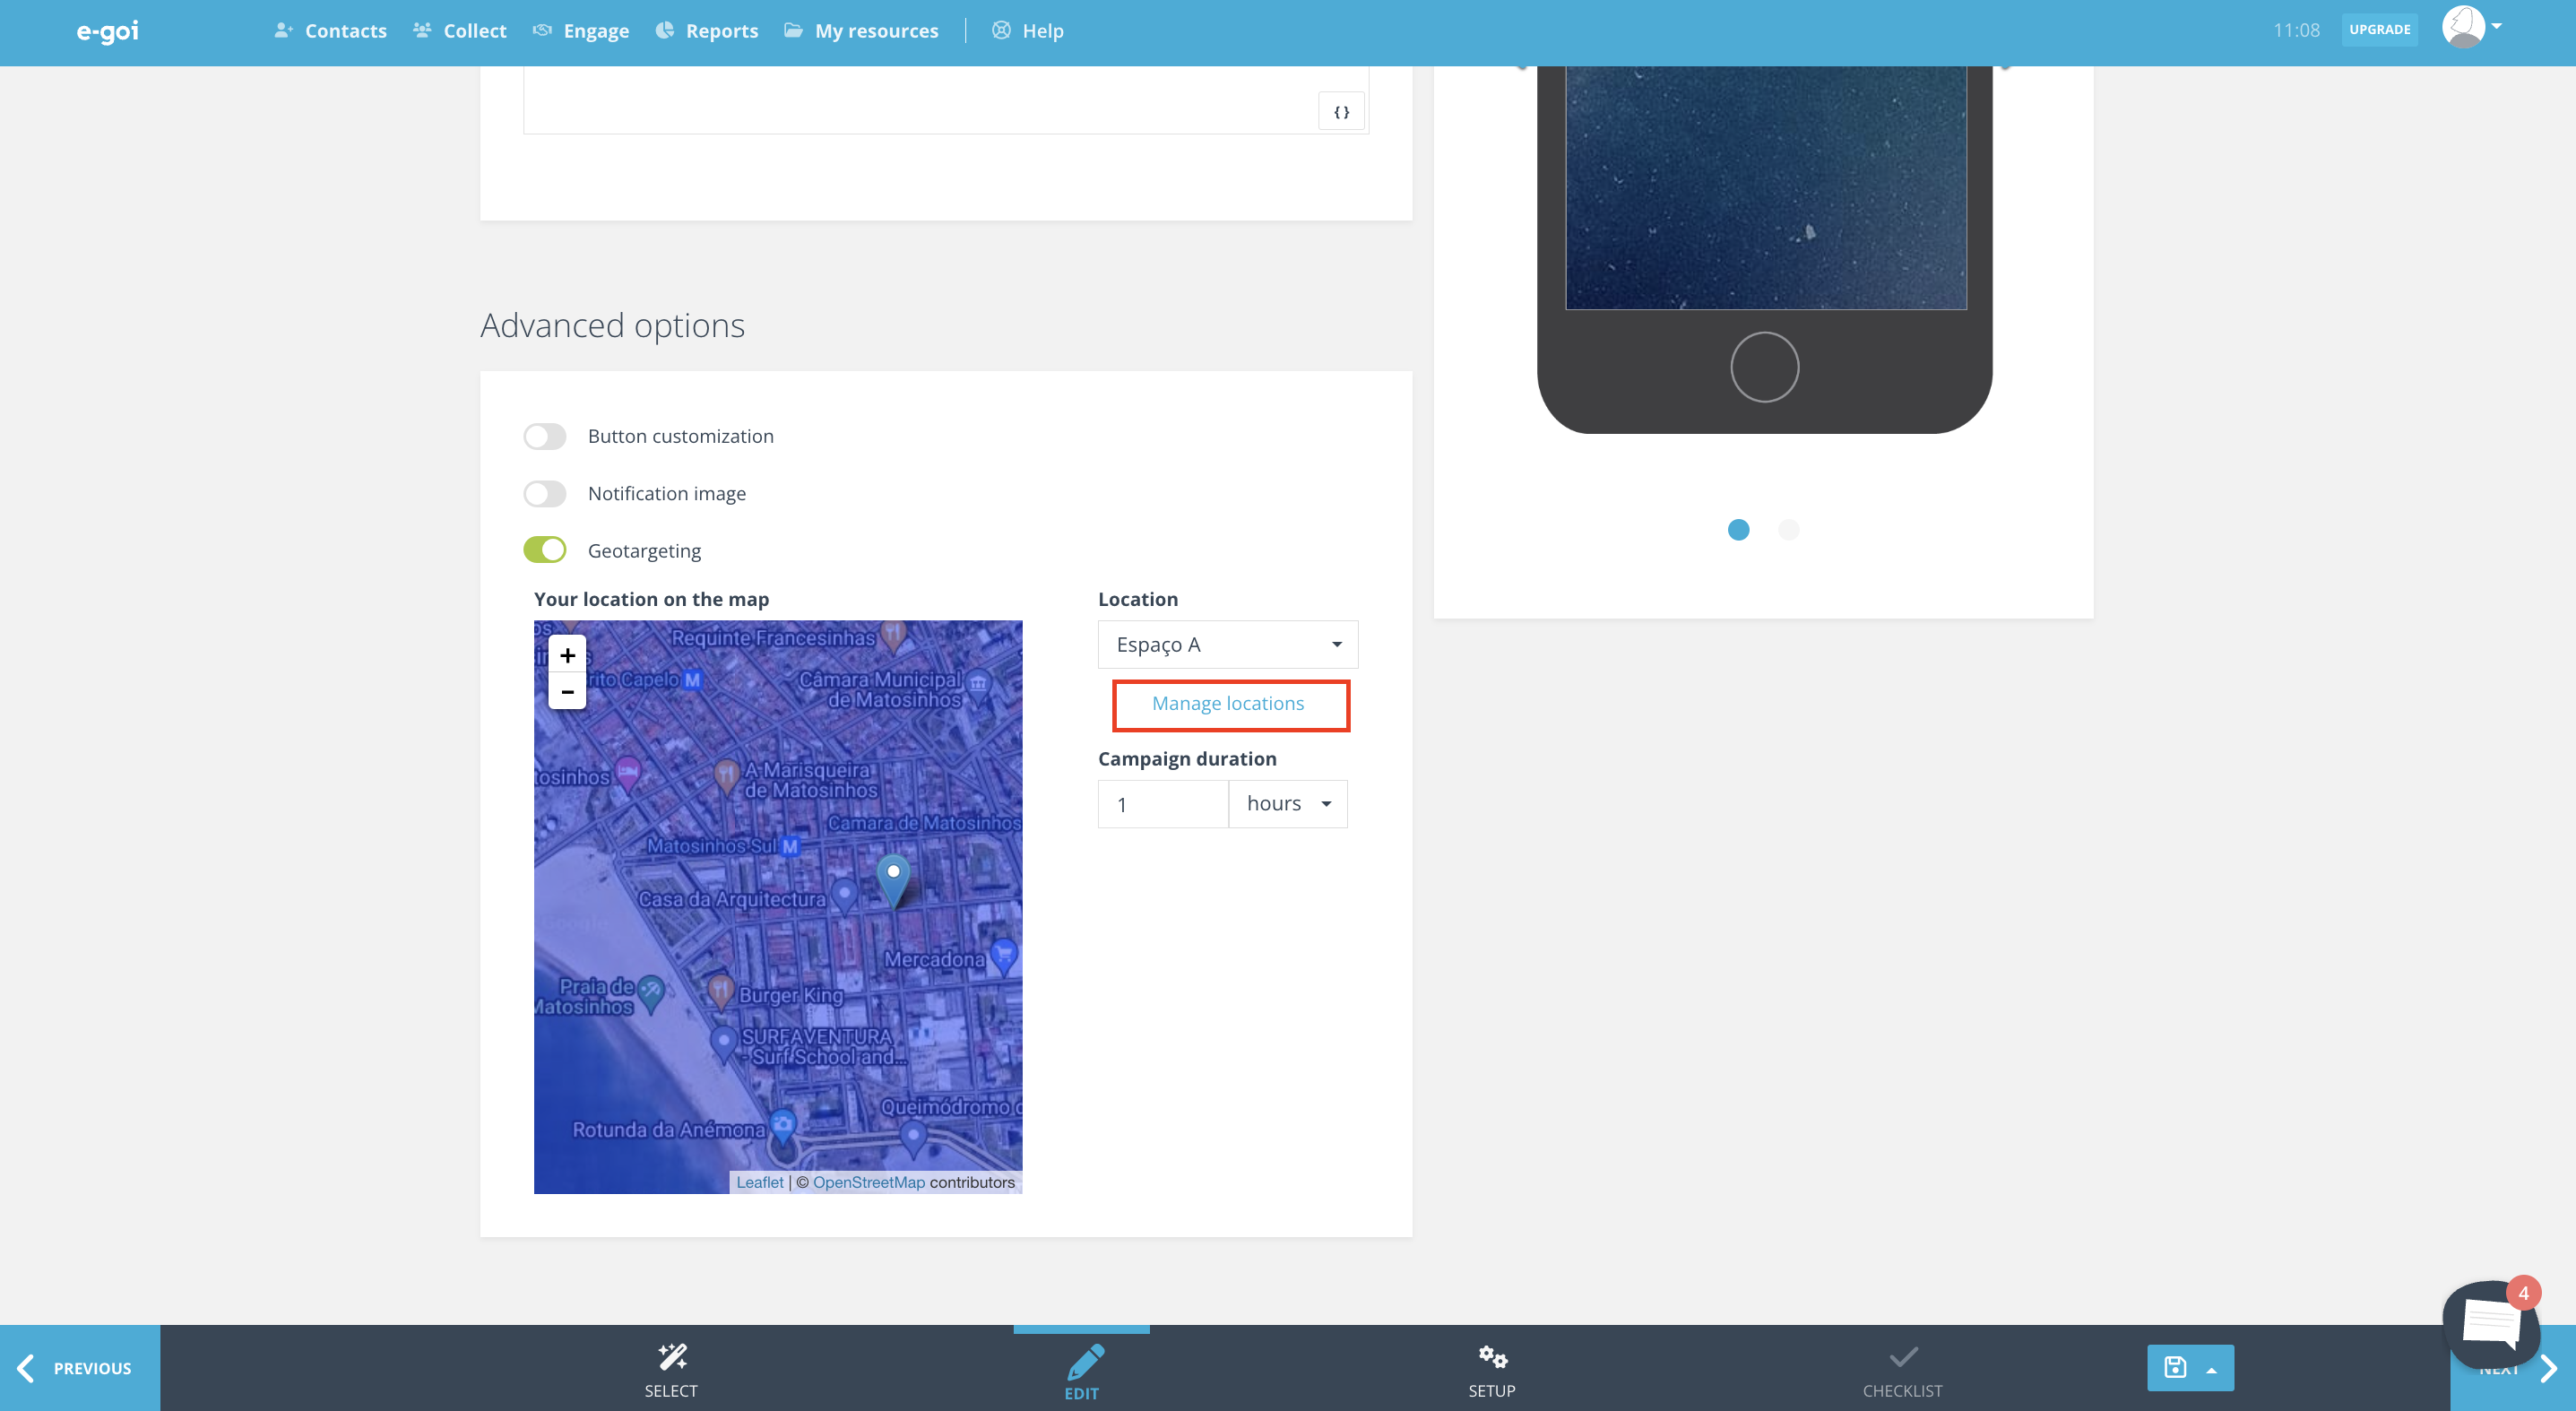
Using the campaign editor, edit the title (which can be personalised) and the message that informs customers of the special offers at the shop near them. The geolocation push notification will only be displayed to contacts who both have the app installed and are in the previously established radius, whether permanently or temporarily. You can also test it directly via the editor.
-
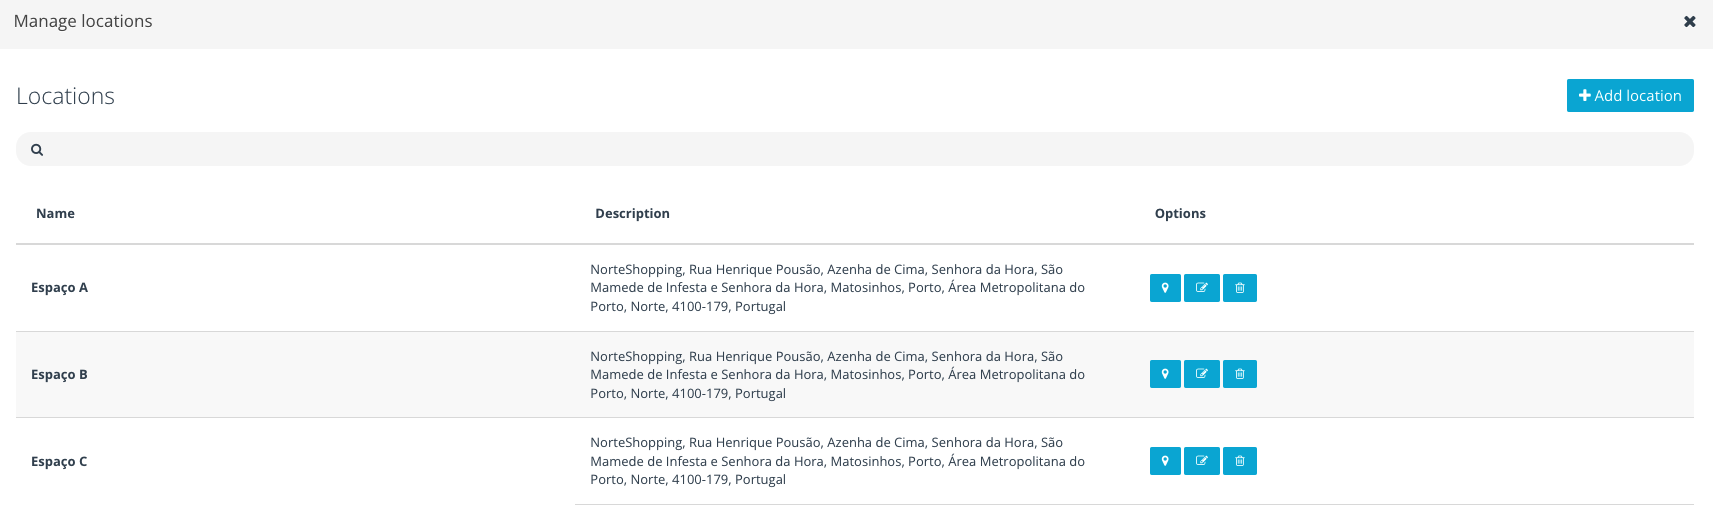
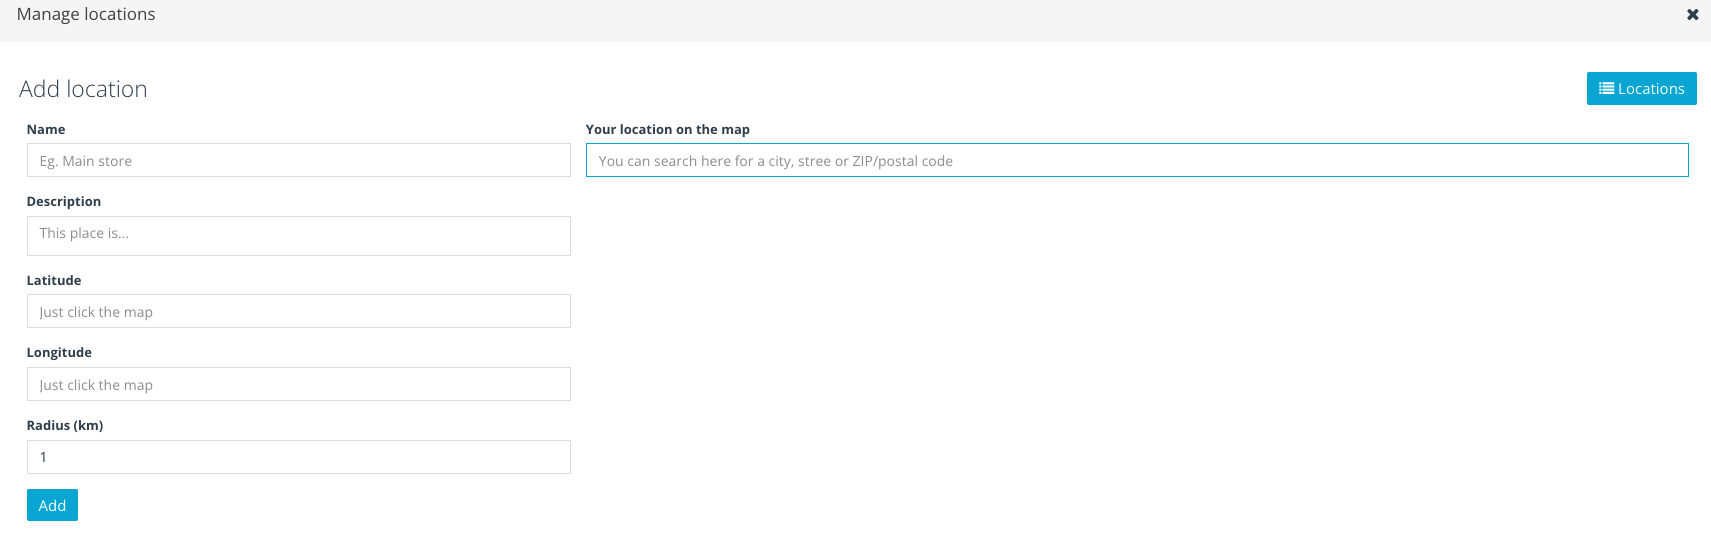
The “Manage locations” option allows you to manage the areas in which the push notification will be displayed. This window provides options of previously created areas (img 1), or you can add new locations by editing the name, description, coordinates and radius options (img 2).
At smartphone (when your location matches)
Communication containing an image (Rich Notification)
-
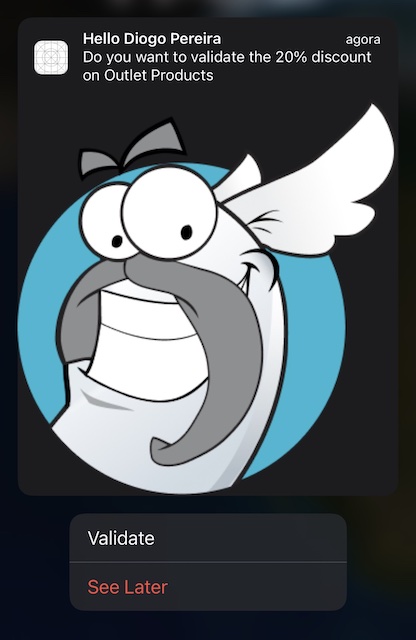
When editing the campaign, establish the title, message and configure the copy, button links, and image (maximum 500KB) in the advanced options.
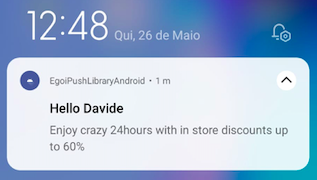
You can see how the image will display on a smartphone before testing the notification, both as a compressed image and when it is expanded.
At smartphone
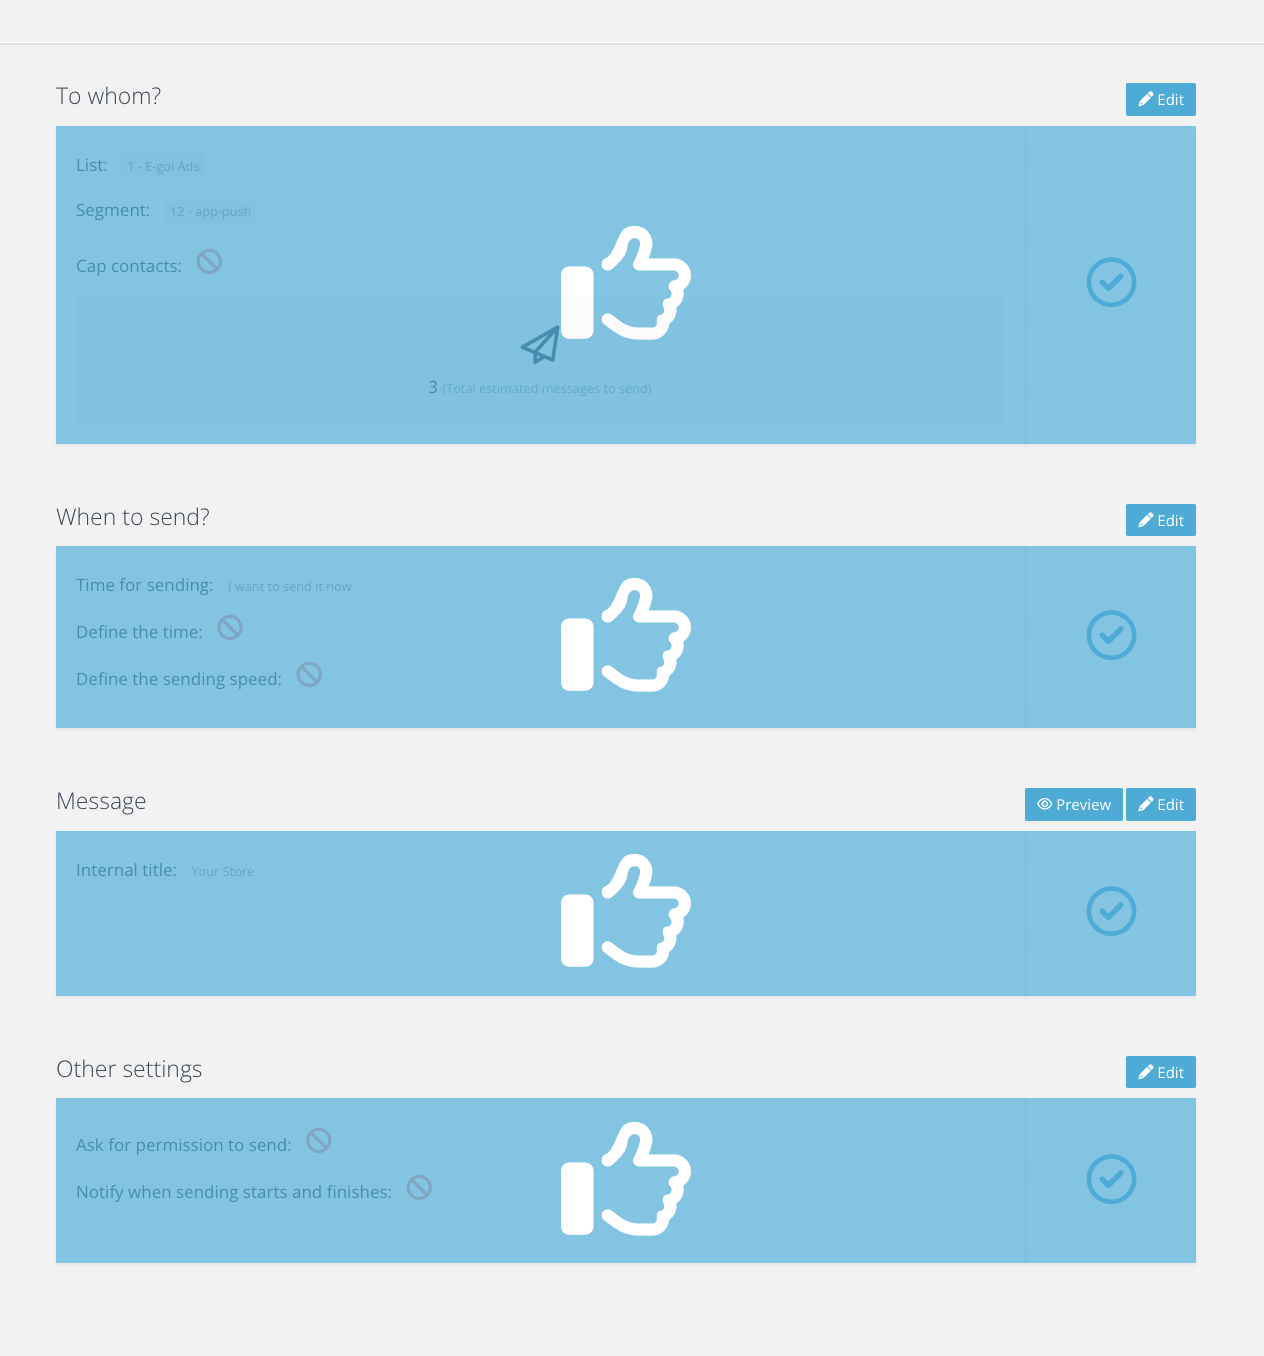
Send the campaign
-
Choose the list and segments you want to send it to, and select the option of sending immediately (you could also schedule it for a specific day or time).
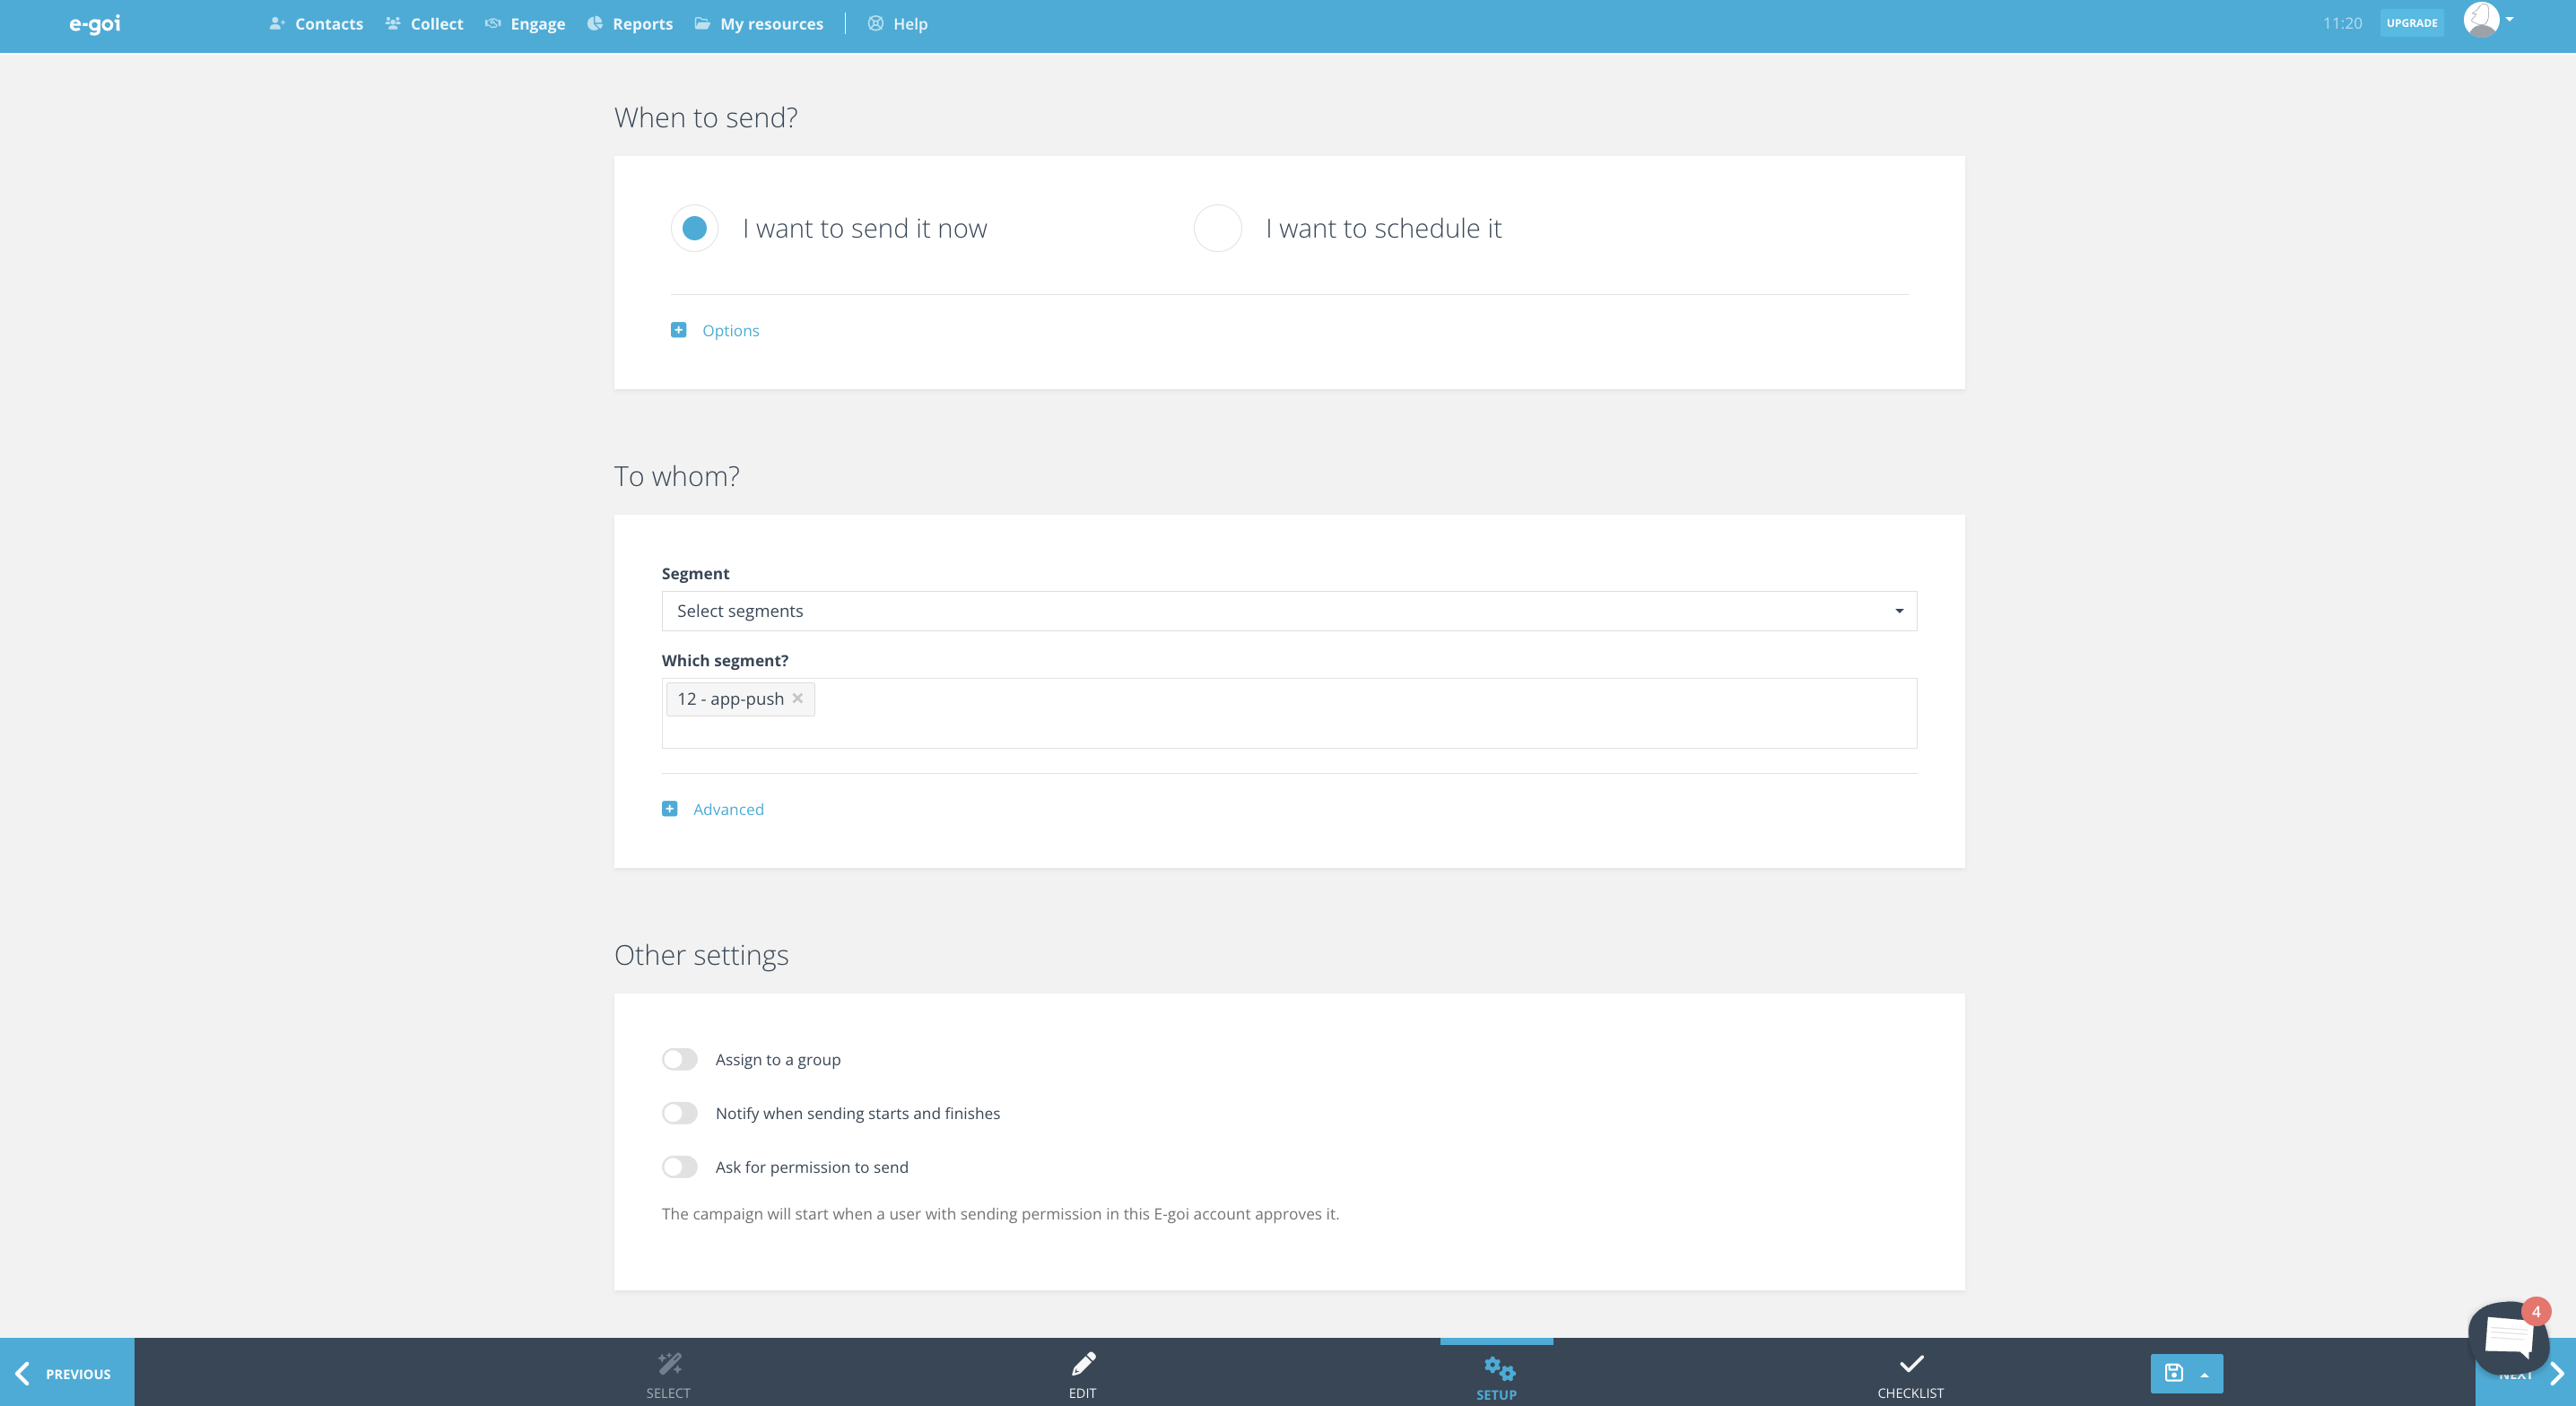
-
The last step is the checklist, where you can check that everything is configured correctly and edit any of the steps directly.